Connect Glide apps to your organization’s identity tools like Okta, Azure AD, Google, and dozens more. Glide SSO is compatible with any IdP and supports both SAML and OIDC protocol.
SSO is currently in beta. Business and Enterprise plan customers can enroll in the beta program at no additional charge. Contact sales@glideapps.com to get started.
Adding SSO to your project.
To start using the SSO integration, first add it to your project.
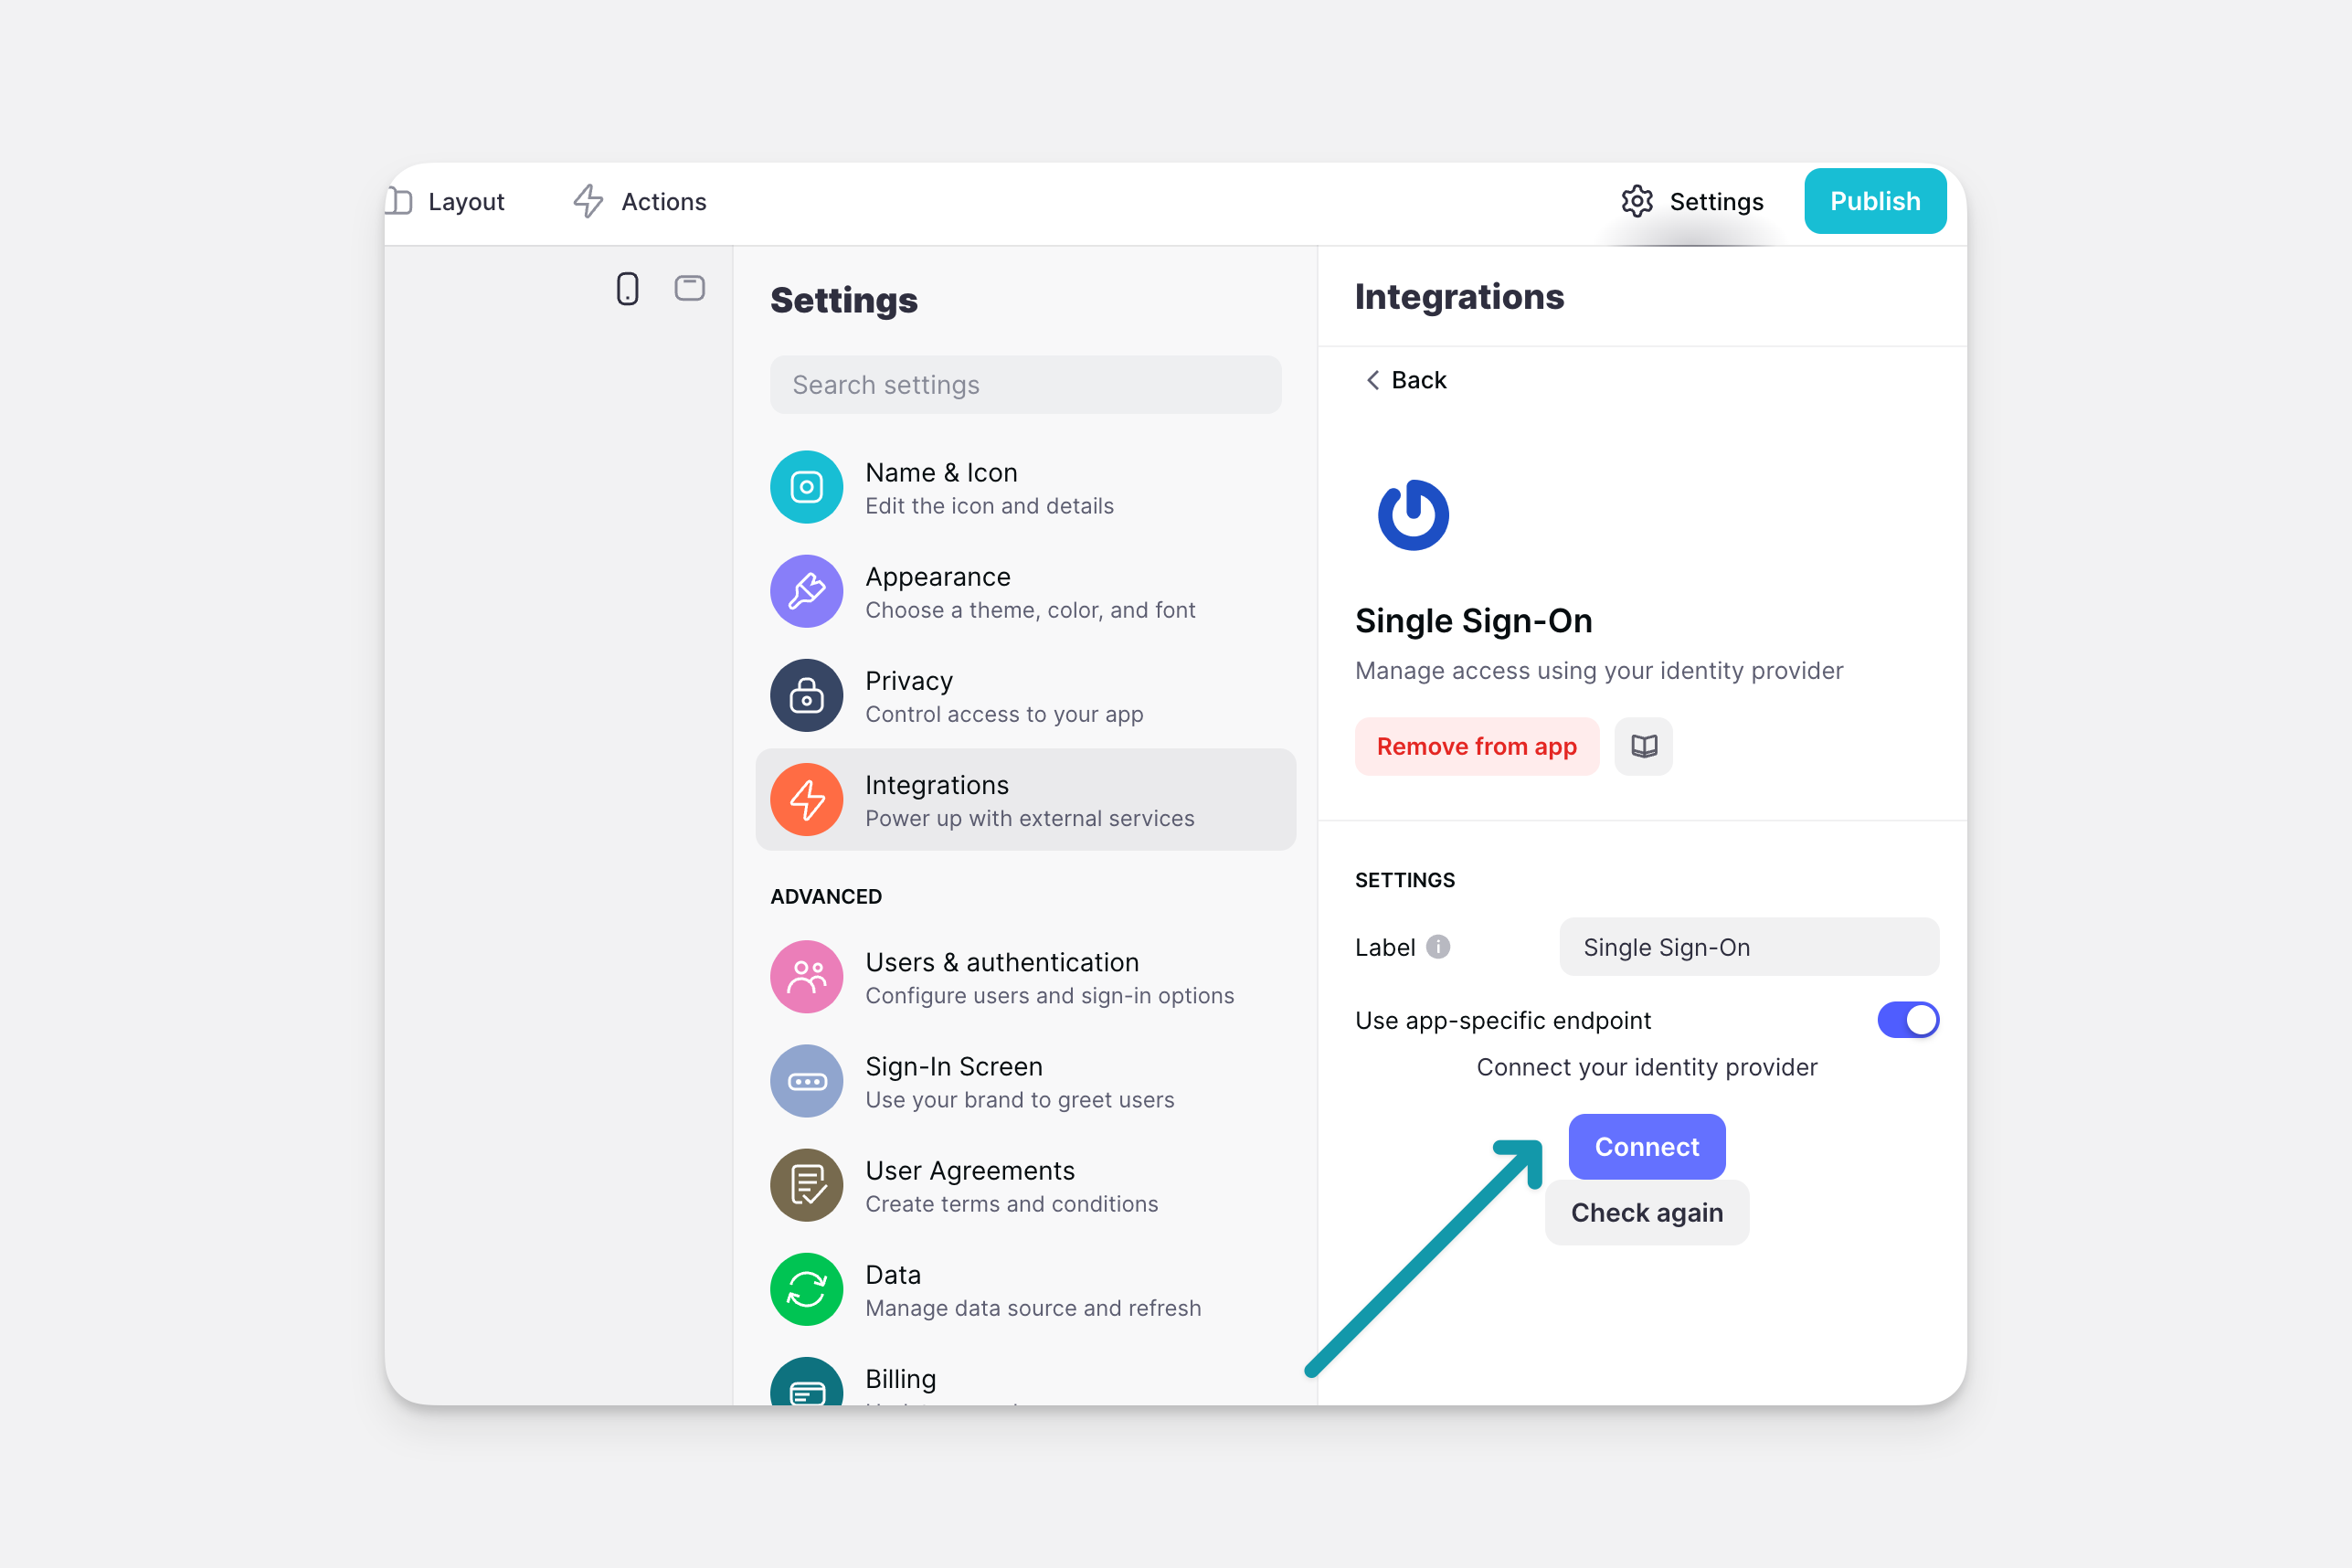
- In your Glide project, click the Settings icon in the upper-right corner.
- Navigate to the Integrations tab and then select Single Sign On.
- Click the Add button
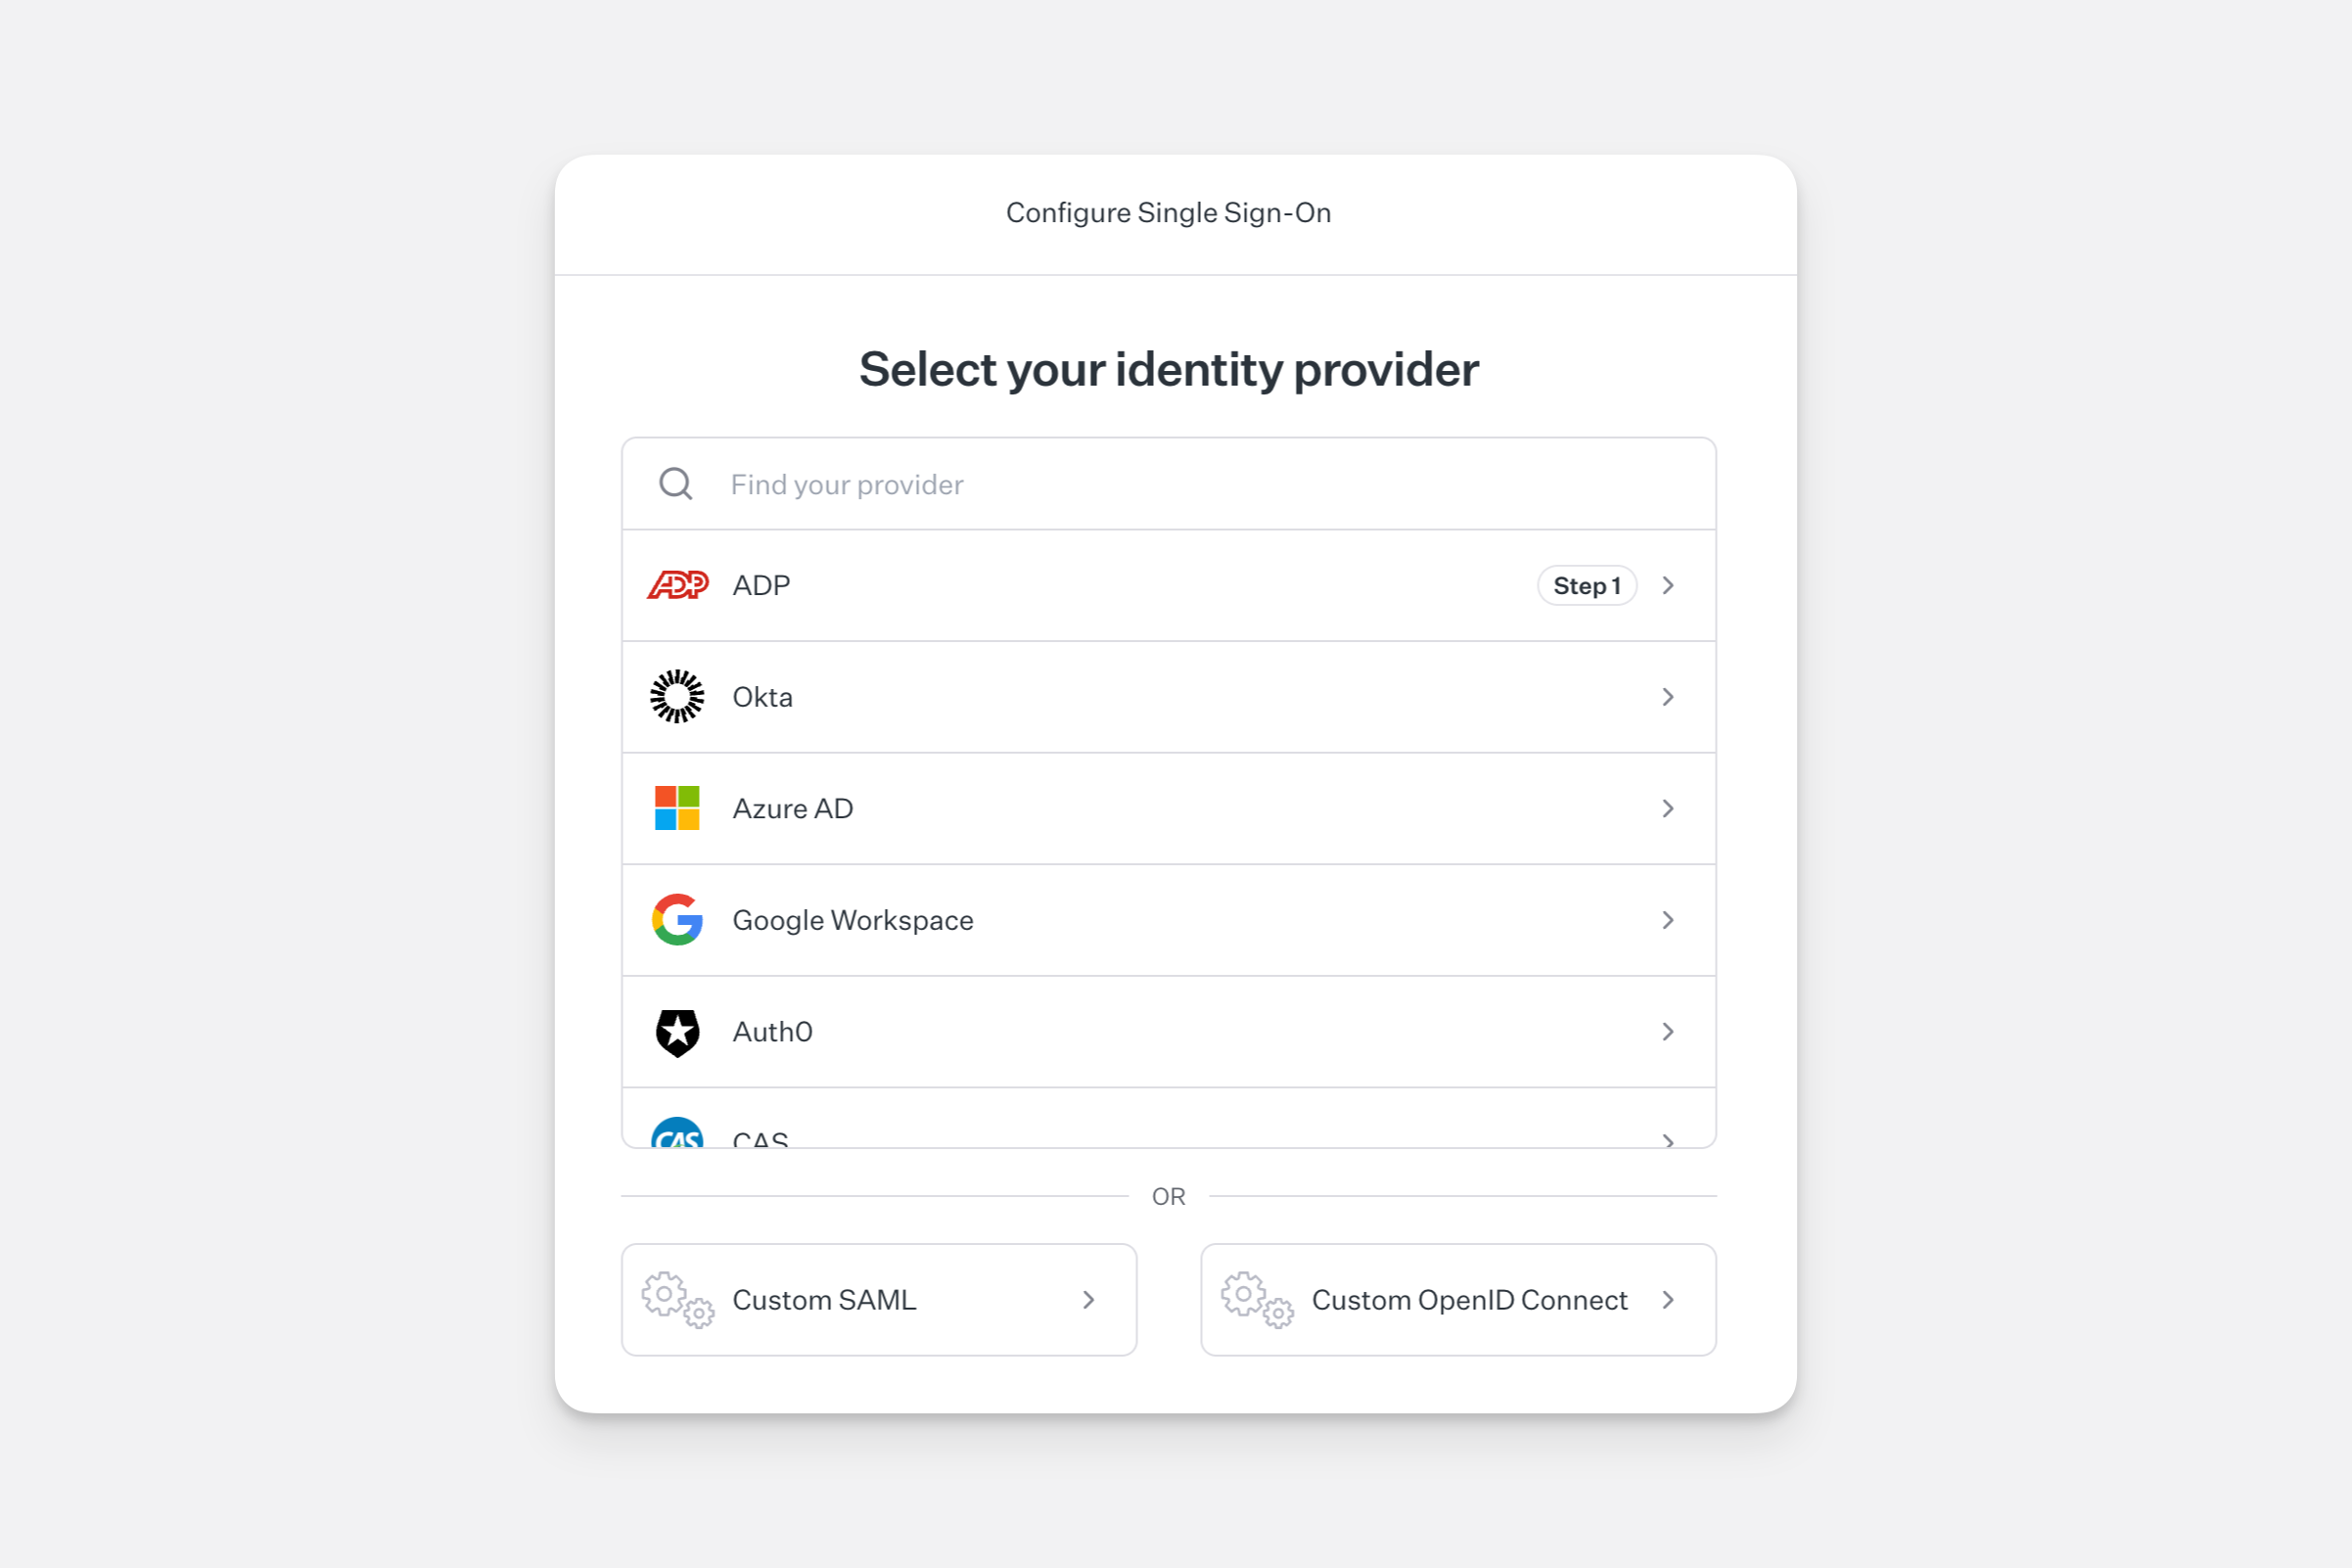
- Click Connect to provider and follow the setup wizard to connect with the identify provider of your choice.
- Once the setup is done, click on Check again to finish the configuration. If the configuration is done correctly, Connect and Check again buttons will dissapear.
Note that an IT administrator will likely be needed to assist with this setup, as it requires secure information from your identity provider.
Configuring App Settings for SSO
When you enable SSO in your project, it has implications for both your privacy and users & authentication settings.
Privacy
In the privacy settings, you will have a new option to allow Anyone from SSO to sign in. This will automatically turn on when SSO is enabled, and it cannot be turned off unless SSO is disabled.
Users & Authentication
In the Users & Authentication menu, you can make adjustments to how your users will sign in to your app. The Single Sign-On option will automatically be enabled when you add SSO to your project and cannot be turned off unless you remove the SSO integration. If you have turned on the SSO option, the other authentication options will automatically turn off.
When SSO is enabled, the Access Requests option will disappear.
If you would like to use only SSO for authorization, make sure you disable PIN emails. This will not be disabled automatically, so you can decide when you are ready to disable this option. Note that when you disable PIN emails, users will not longer see the option to manually enter their email address. They will only see the sign in with SSO button.
Sign-in Screen
When you enable SSO, there will be a new option for the sign-in screen to add a button for SSO. You can customize what the text on this button says.
.png)
Testing Your SSO Integration
Before making your SSO integration live, we recommend testing the sign in to ensure that it’s working properly. The SSO setup wizard will confirm if sign in is successful, or if there are any issues that need to be resolved.
To learn more generally about Integrations in Glide, including how they affect your app’s usage, check out our Introduction to Integrations.