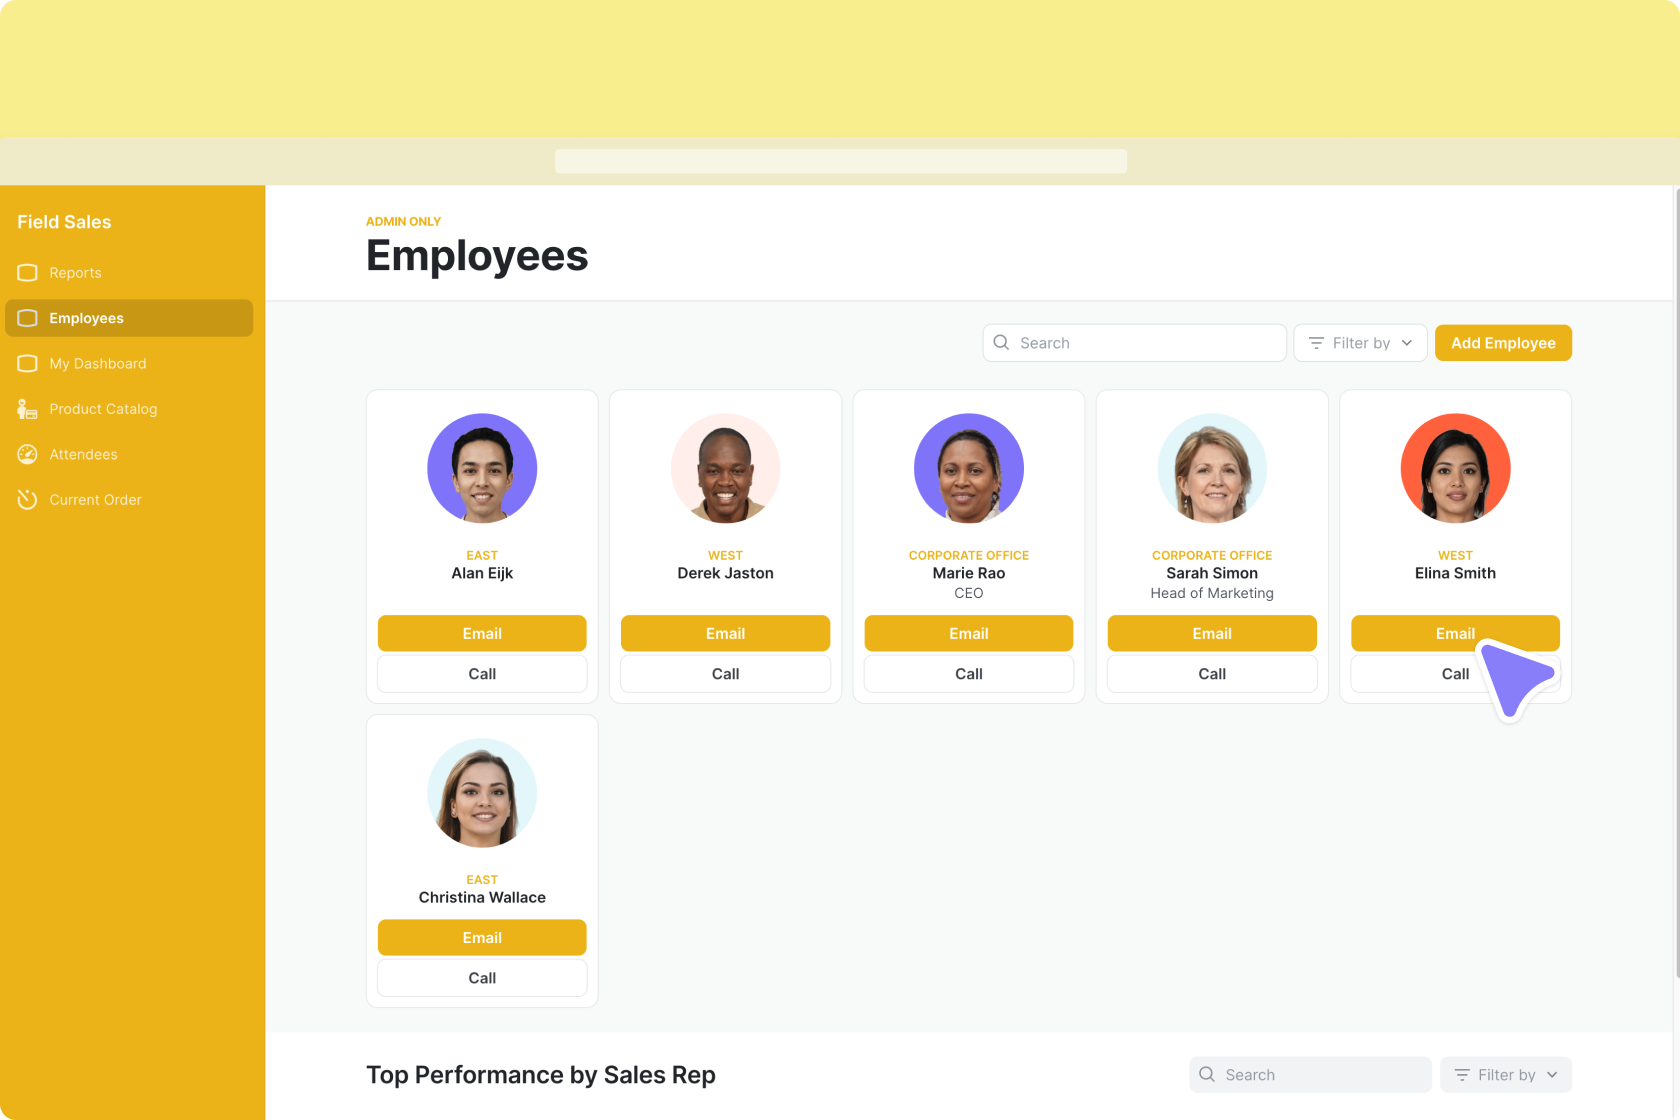
Gmail is an email platform for workplace communication. When emails are a critical part of your workflow, it can be helpful to configure Glide to send emails from your Gmail account.
Don't see the Gmail integration?
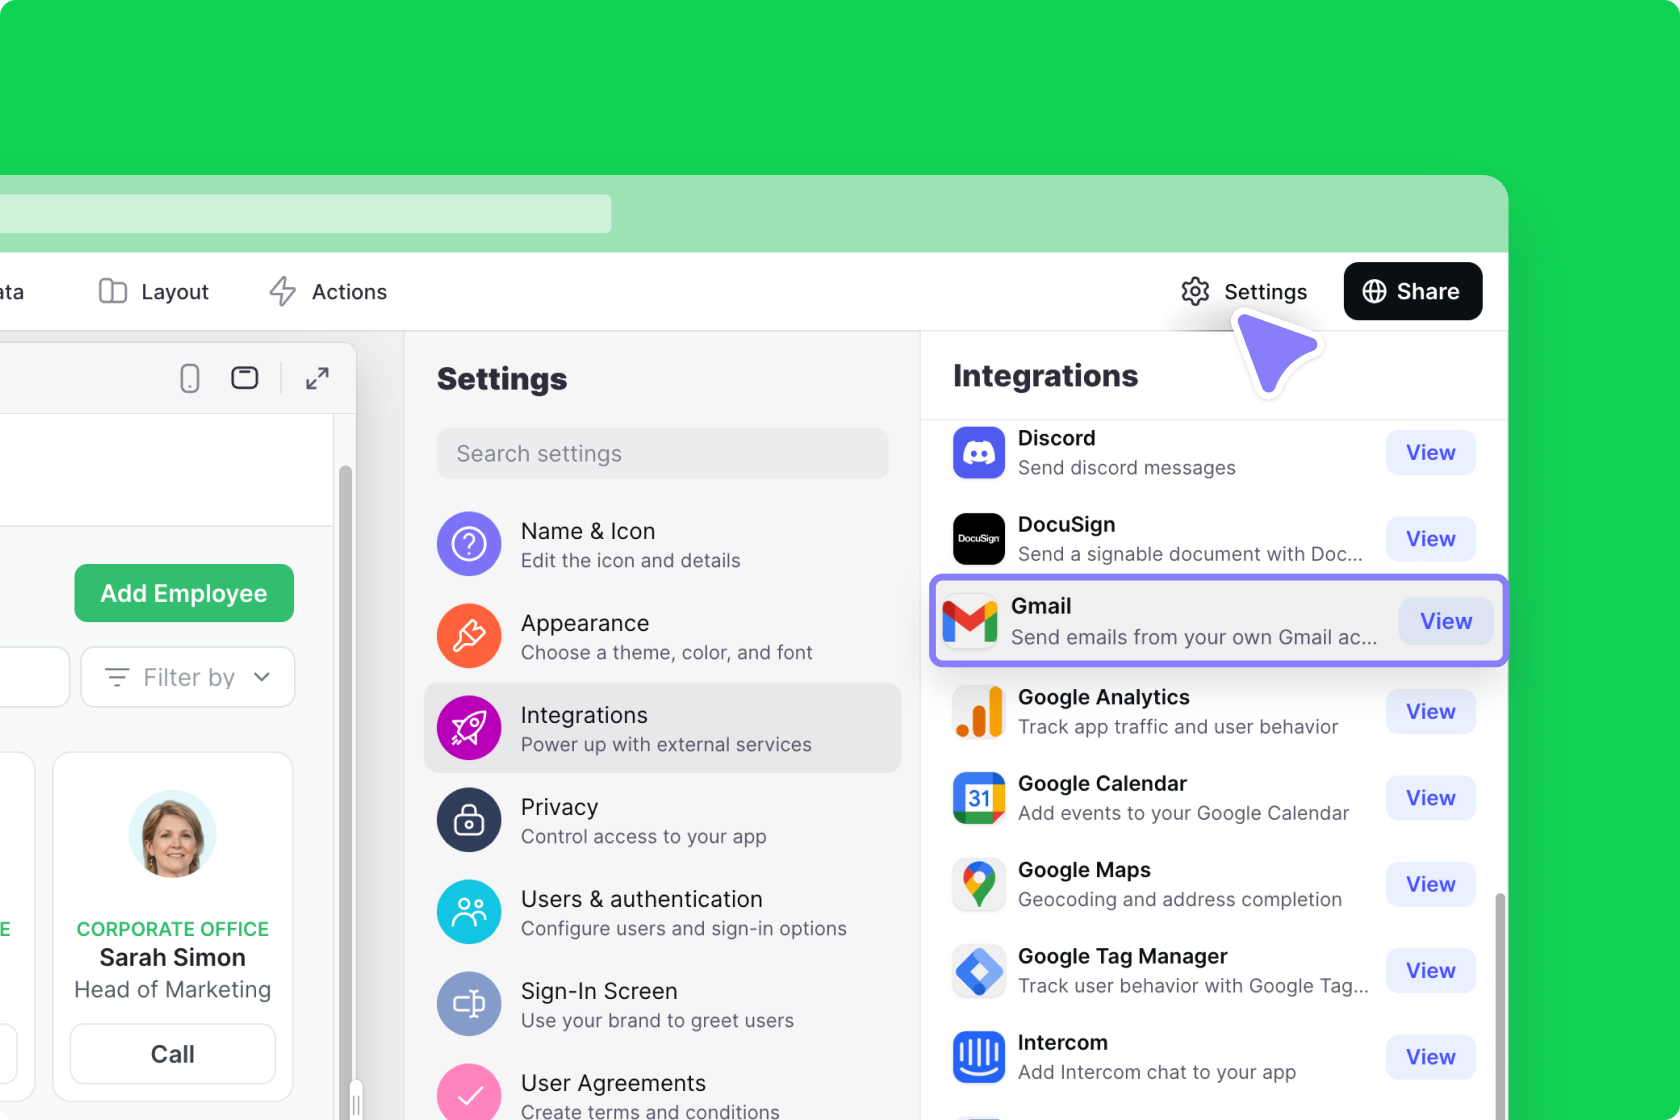
Adding and Configuring the Integration
To start using the Gmail integration, you first need to add it to your project.
- In Glide, click the Settings icon in the upper-right corner.
- Click the Integrations tab and then select Gmail.
- Select Add
- Sign into your Google Workspace account and select Allow to approve the integration.
- Once Glide has access to your Gmail account, you will be able to send emails from your Glide app.
Features
Send Email with Gmail
The Send Email with Gmail action allows you to send an email from your own Gmail account.
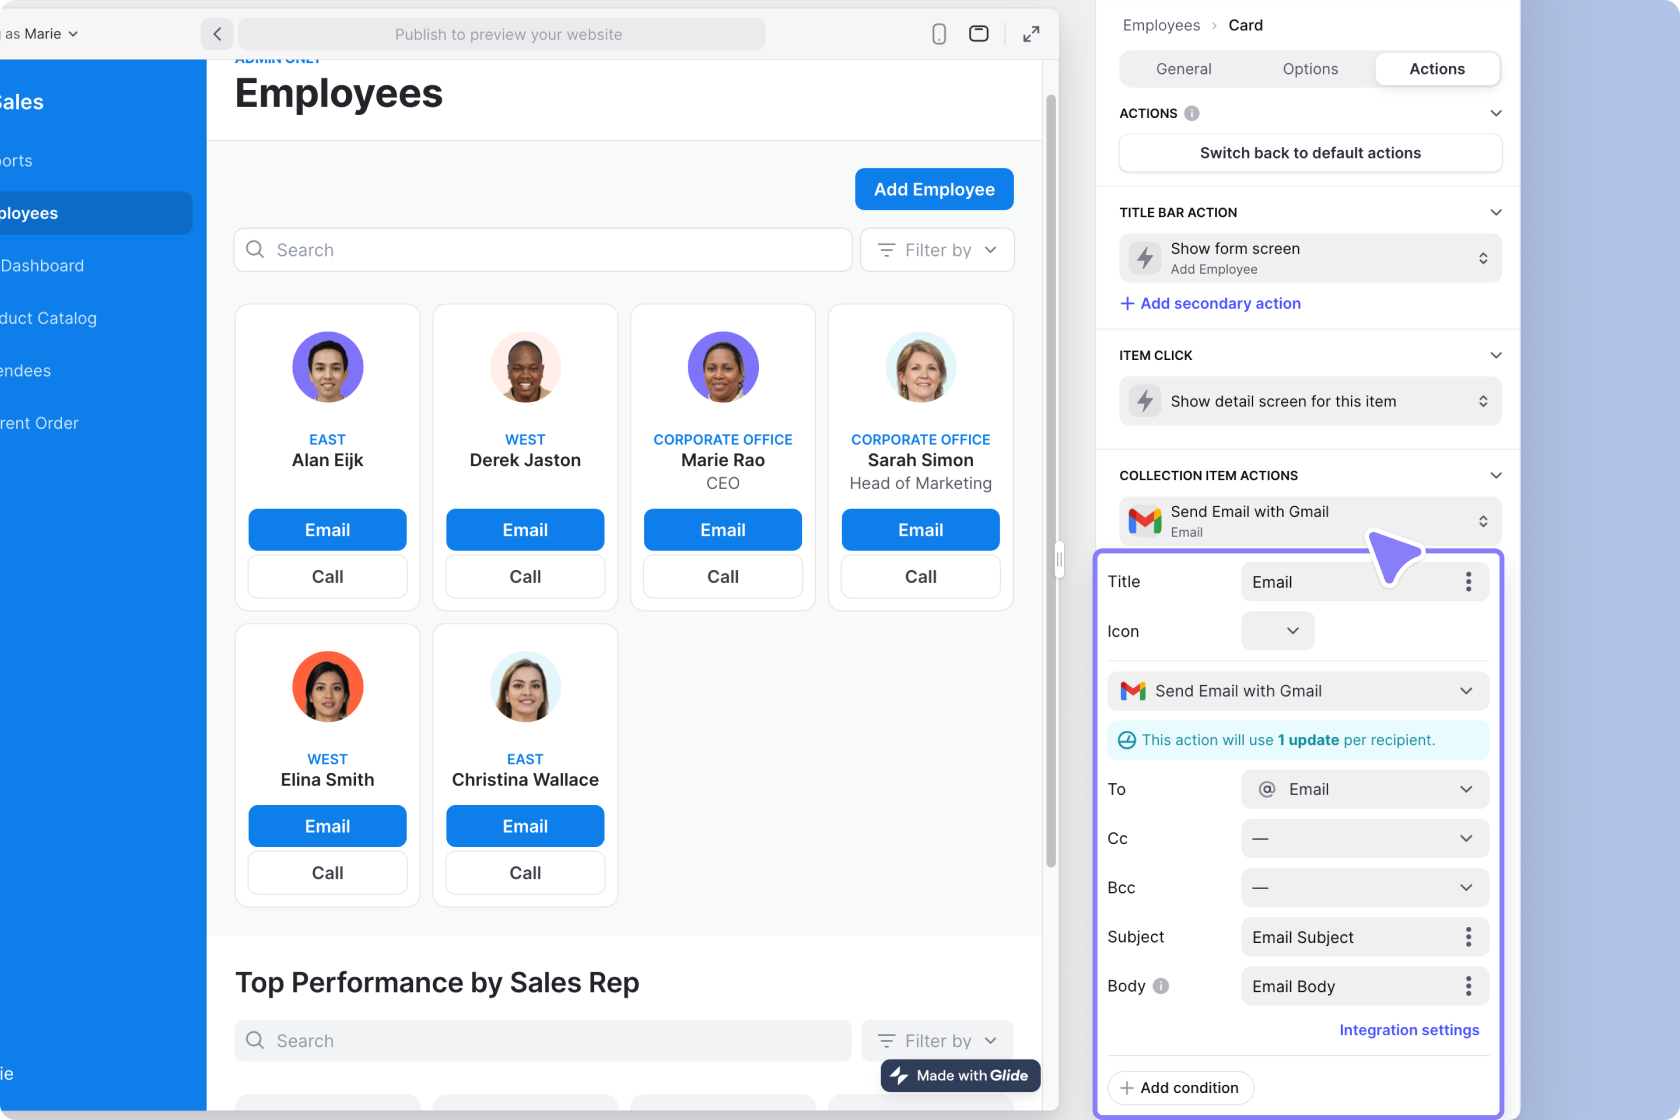
Below is a list of the fields you can customize in Glide.
| Field | Description | Required? |
|---|---|---|
| To | Email recipient | ✅ |
| CC | CC recipient | ❌ |
| BCC | BCC recipient | ❌ |
| Subject | Title of email | ✅ |
| Body | Text of email | ✅ |
The action can be added to a Component that supports Actions (e.g., a Button component), added to an action sequence in the Action Editor, or after a Form is submitted.
You can create a dynamic email by first creating a Template column in the Data Editor and then setting that column as your To, Cc, Bcc, Subject, or Body field.
To learn more generally about Integrations in Glide, including how they affect your app’s usage, check out our Introduction to Integrations.