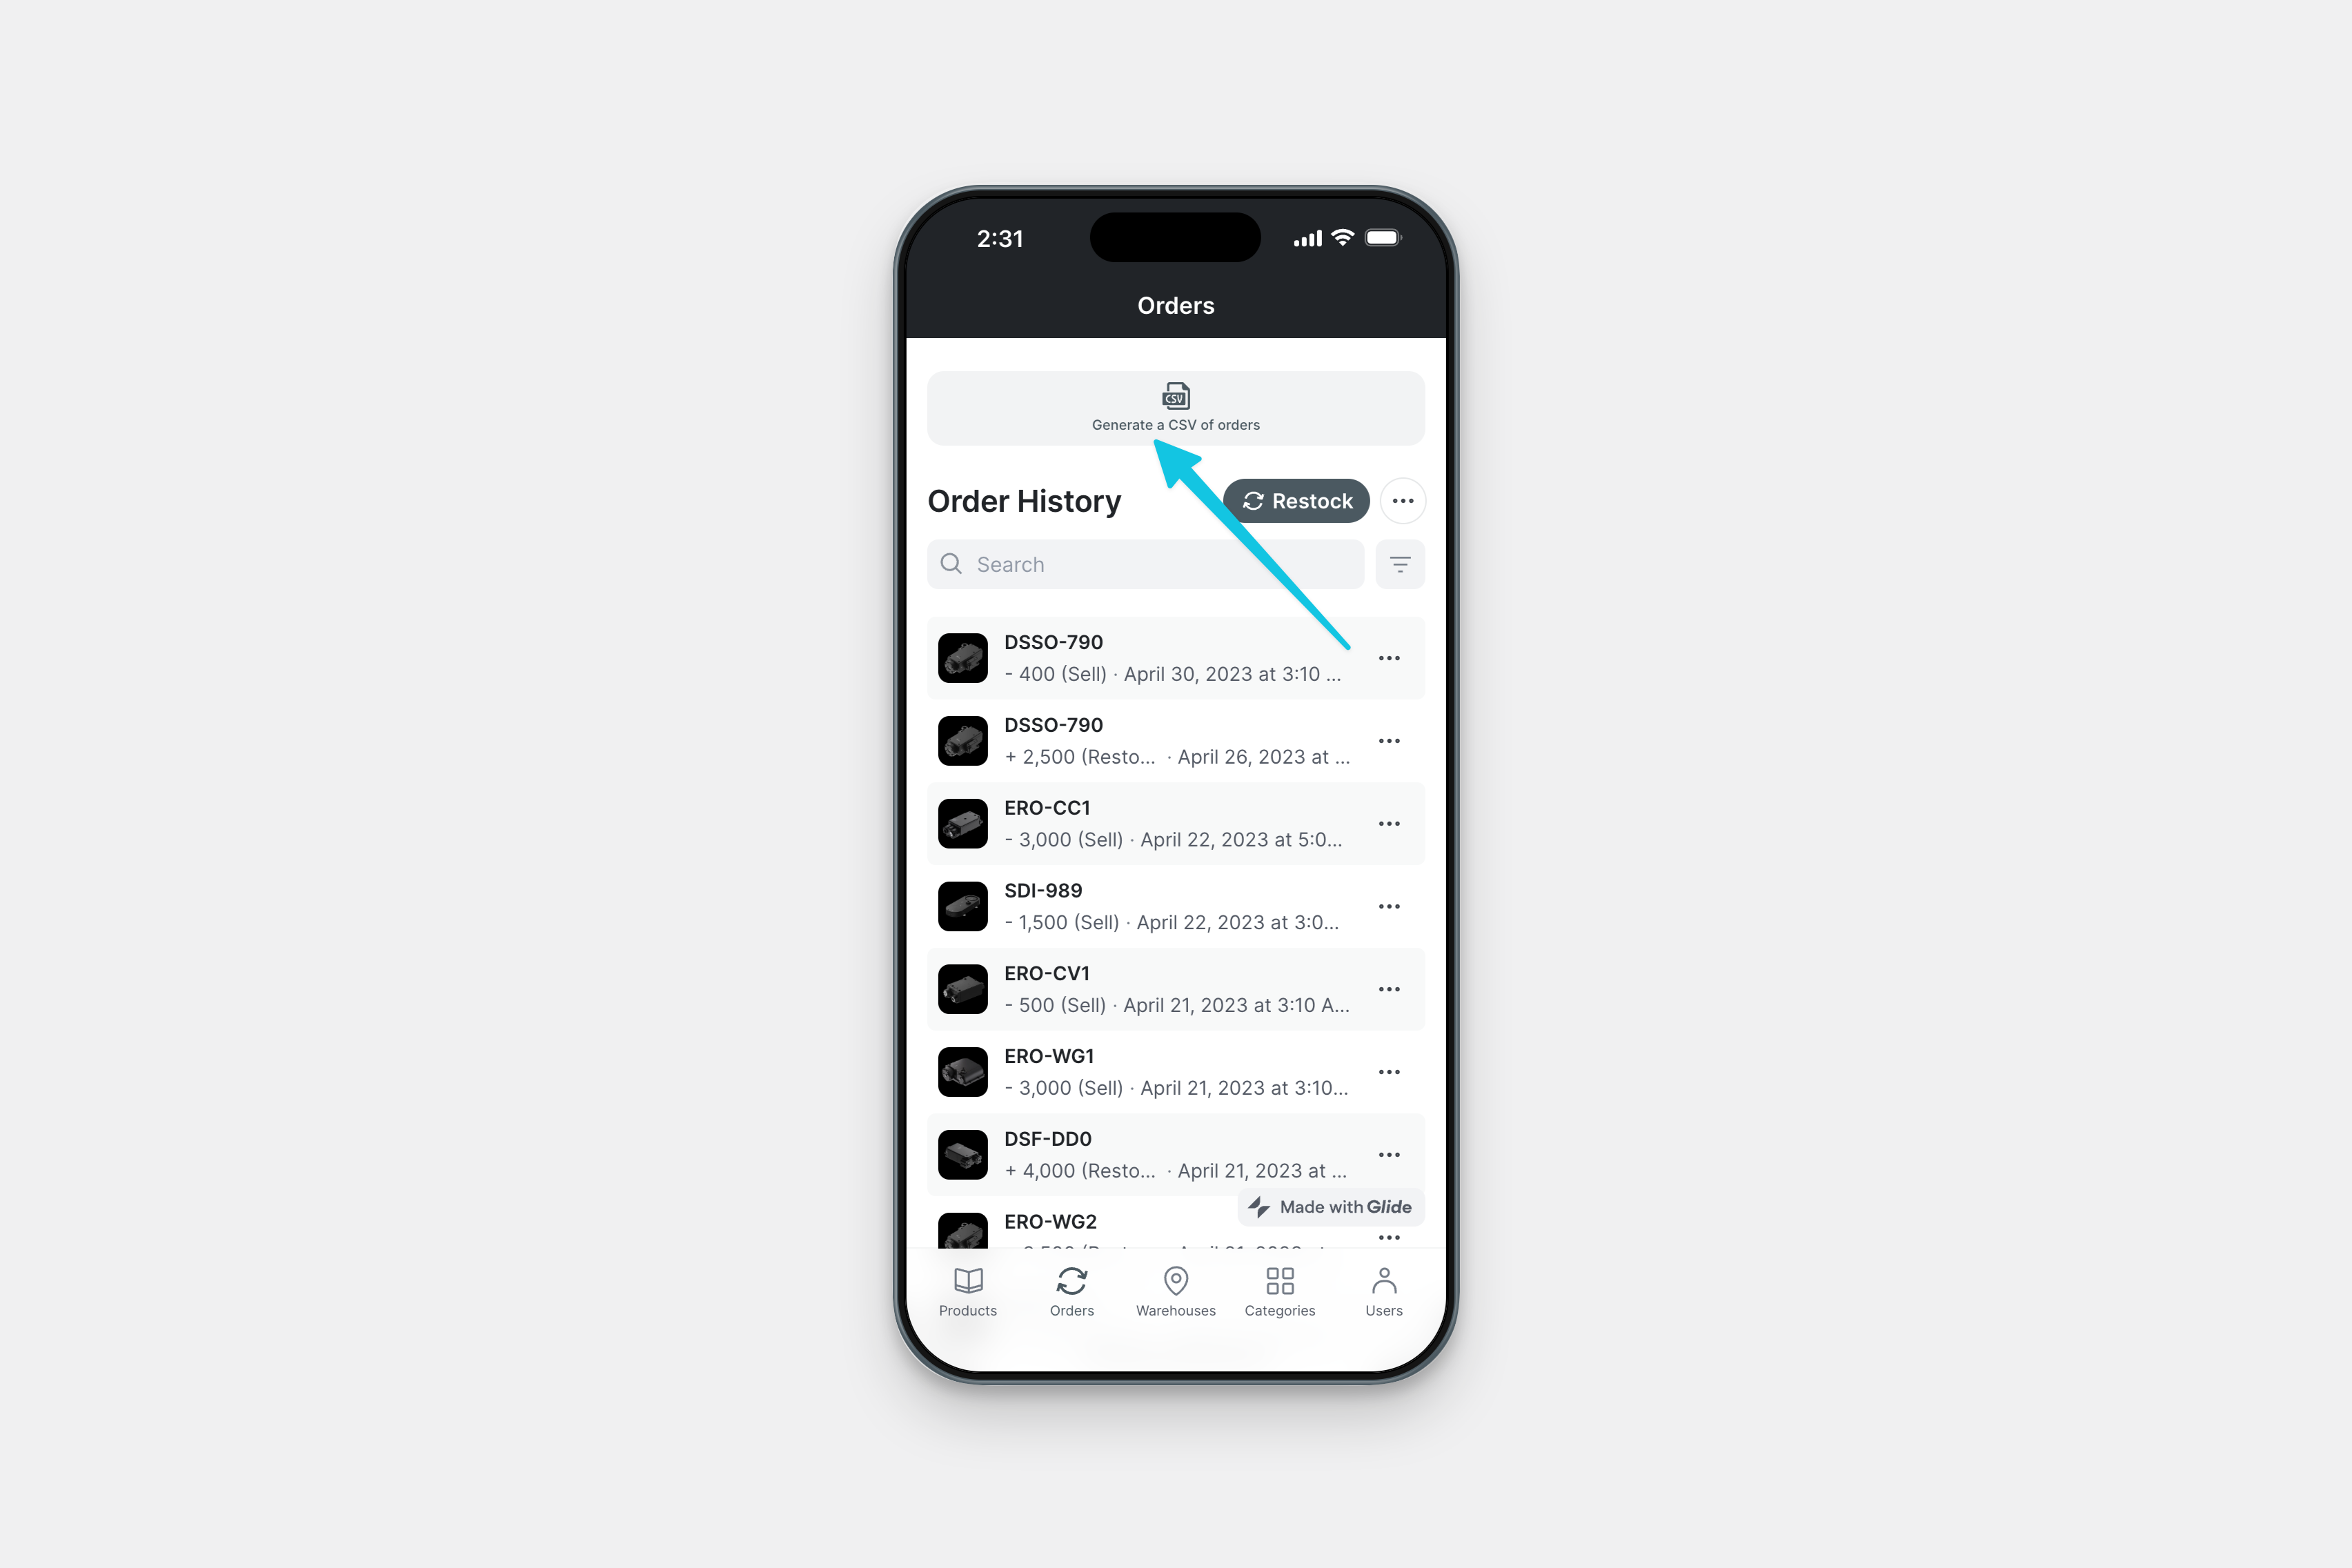
Glide displays your data in various styles and layouts, but sometimes your users need to export that data to a CSV file for use outside of your Glide project. For this, you can use the Generate CSV Integration.
Adding and Configuring the Integration
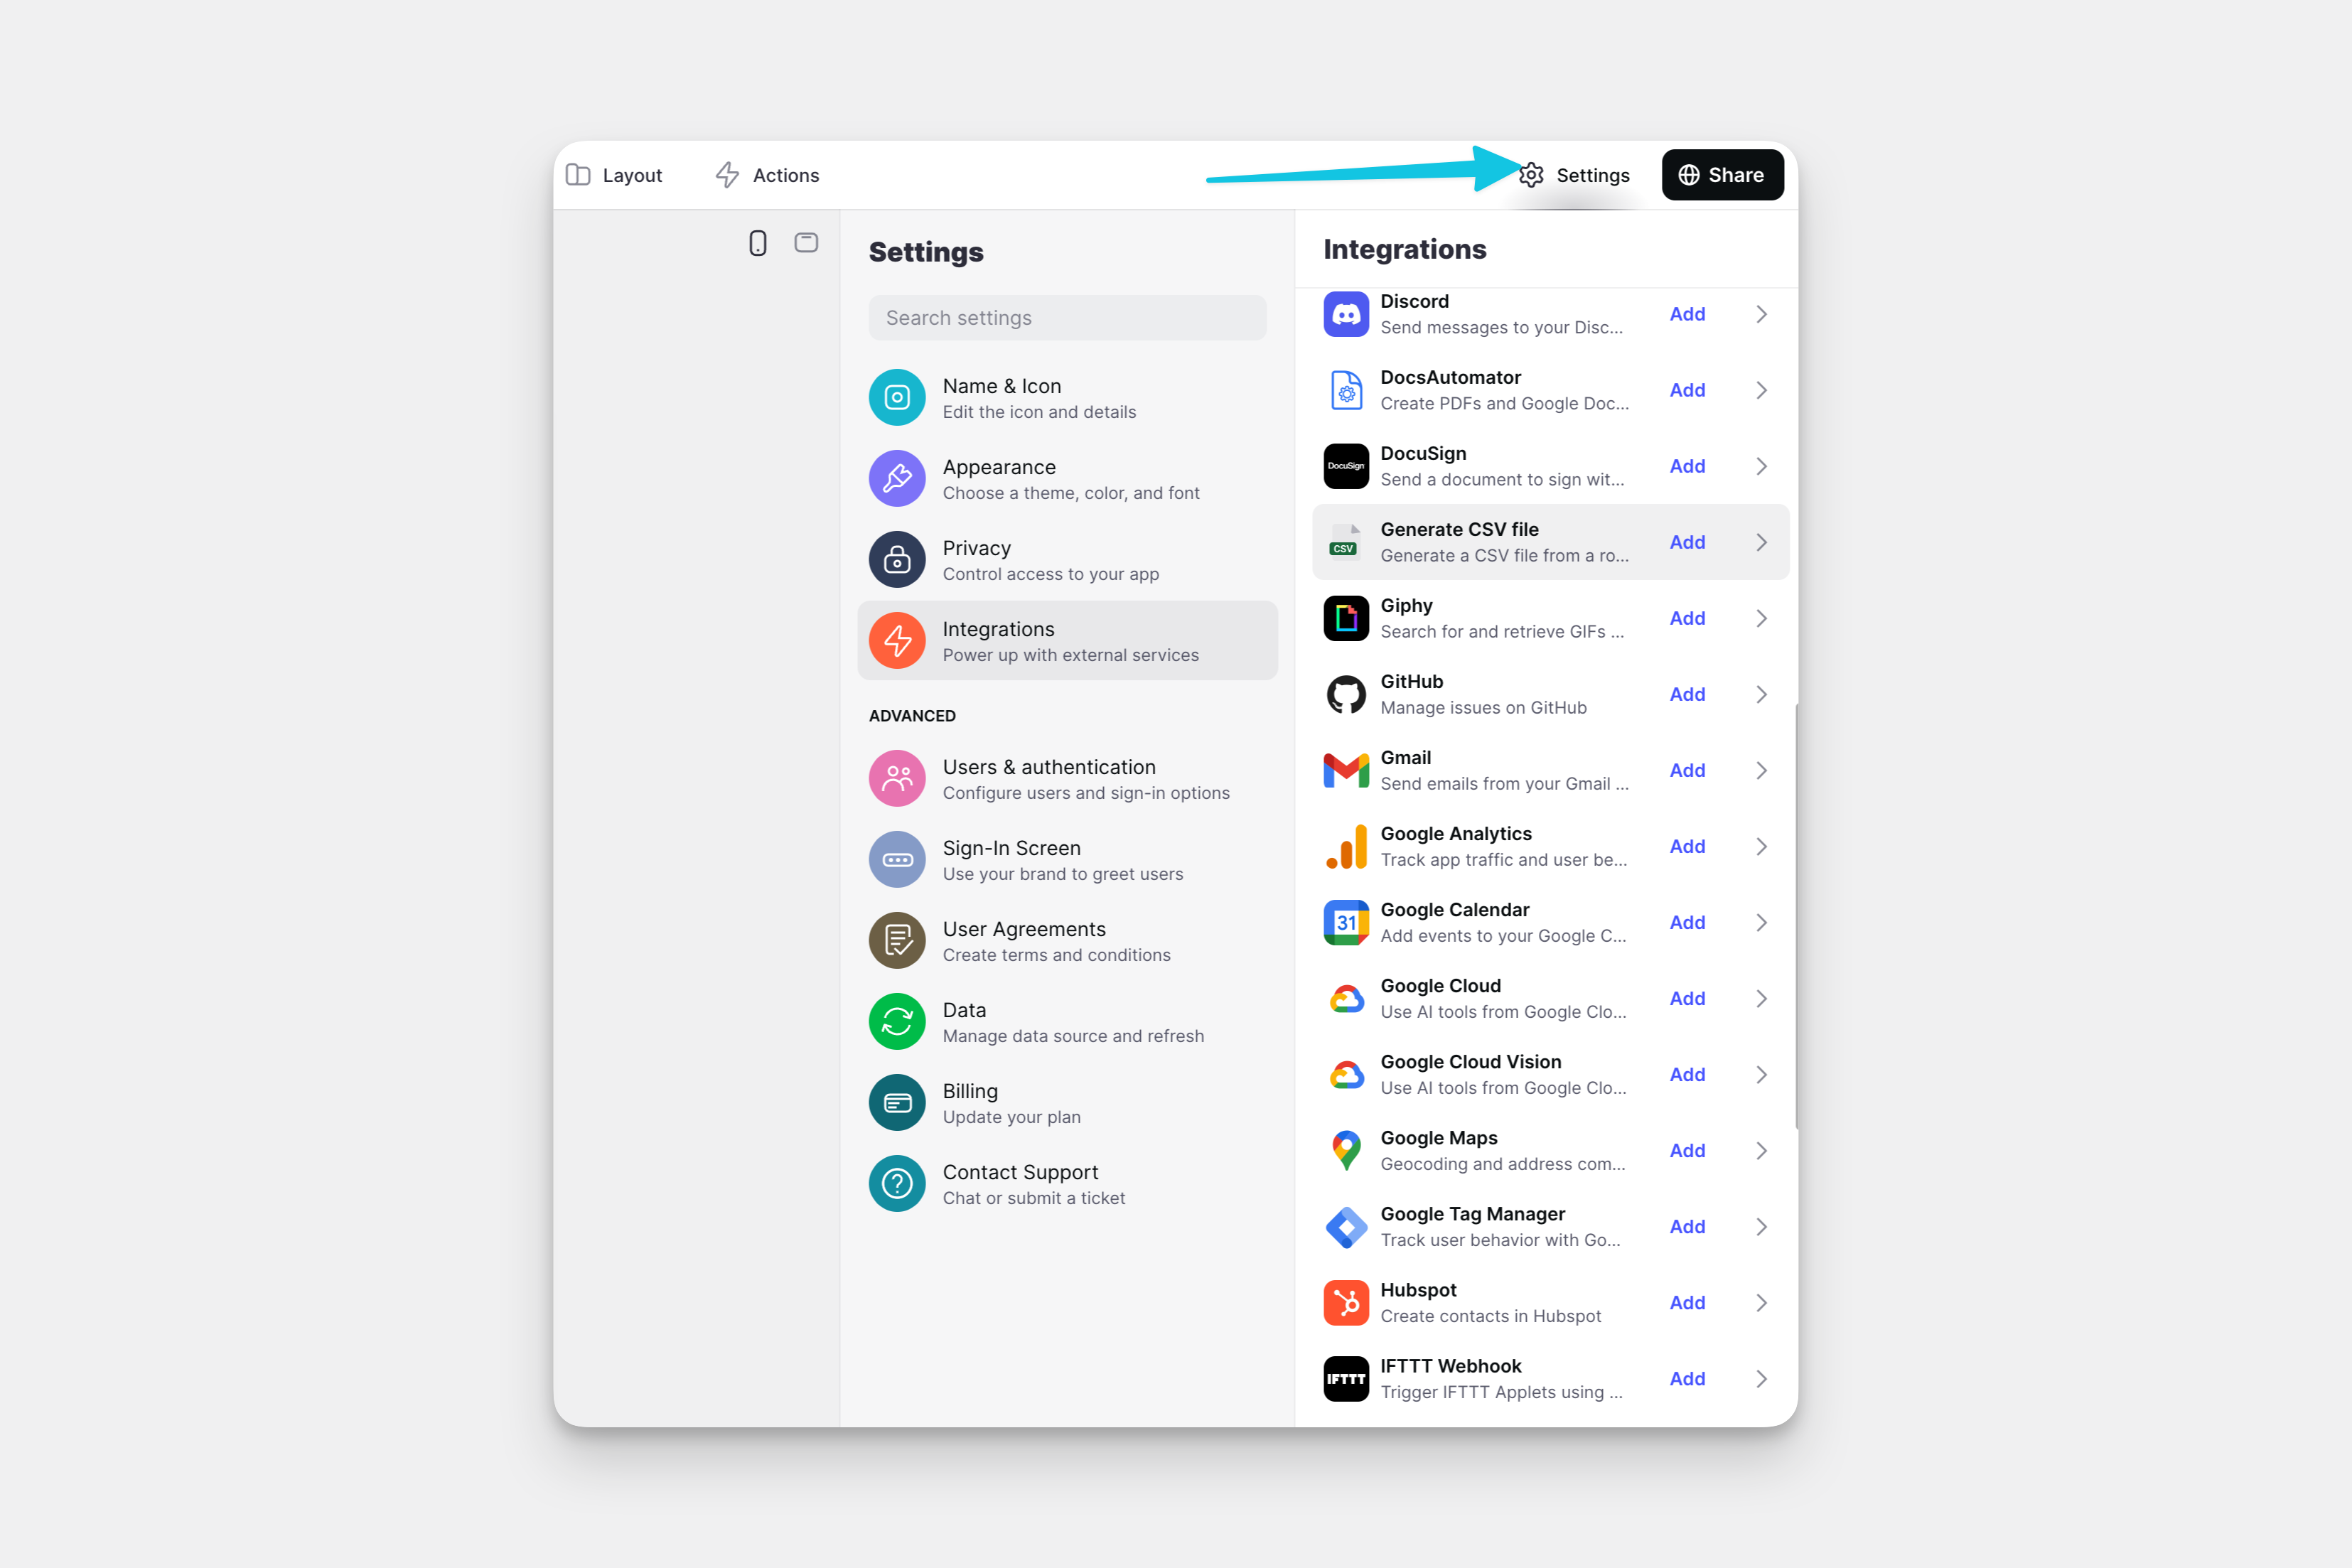
To start using the Generate CSV integration, you first need to add it to your project.
- In Glide, click the Settings icon in the upper-right corner.
- Navigate to the Integrations tab and then select Generate CSV.
- Click the Add button.
Features
The Generate CSV file Integration has only one feature - Generate CSV file. This can be added to a Component that supports Actions (e.g., a Button component), added to an action sequence in the Action Editor.

Below is a table outlining the different settings.
| Field | Description | Required? |
|---|---|---|
| Source data | Which row, table, or relation to use | ✅ |
| File output | Where to put the CSV link | ✅ |
You can use Select columns under Source data to include as many columns from your data source as you’d like. Glide will choose most columns by default. You can also rename columns directly from this screen to customize your CSV file.
To learn more generally about Integrations in Glide, including how they affect your app’s usage, check out our Introduction to Integrations.
FAQs
Updated 2 weeks ago