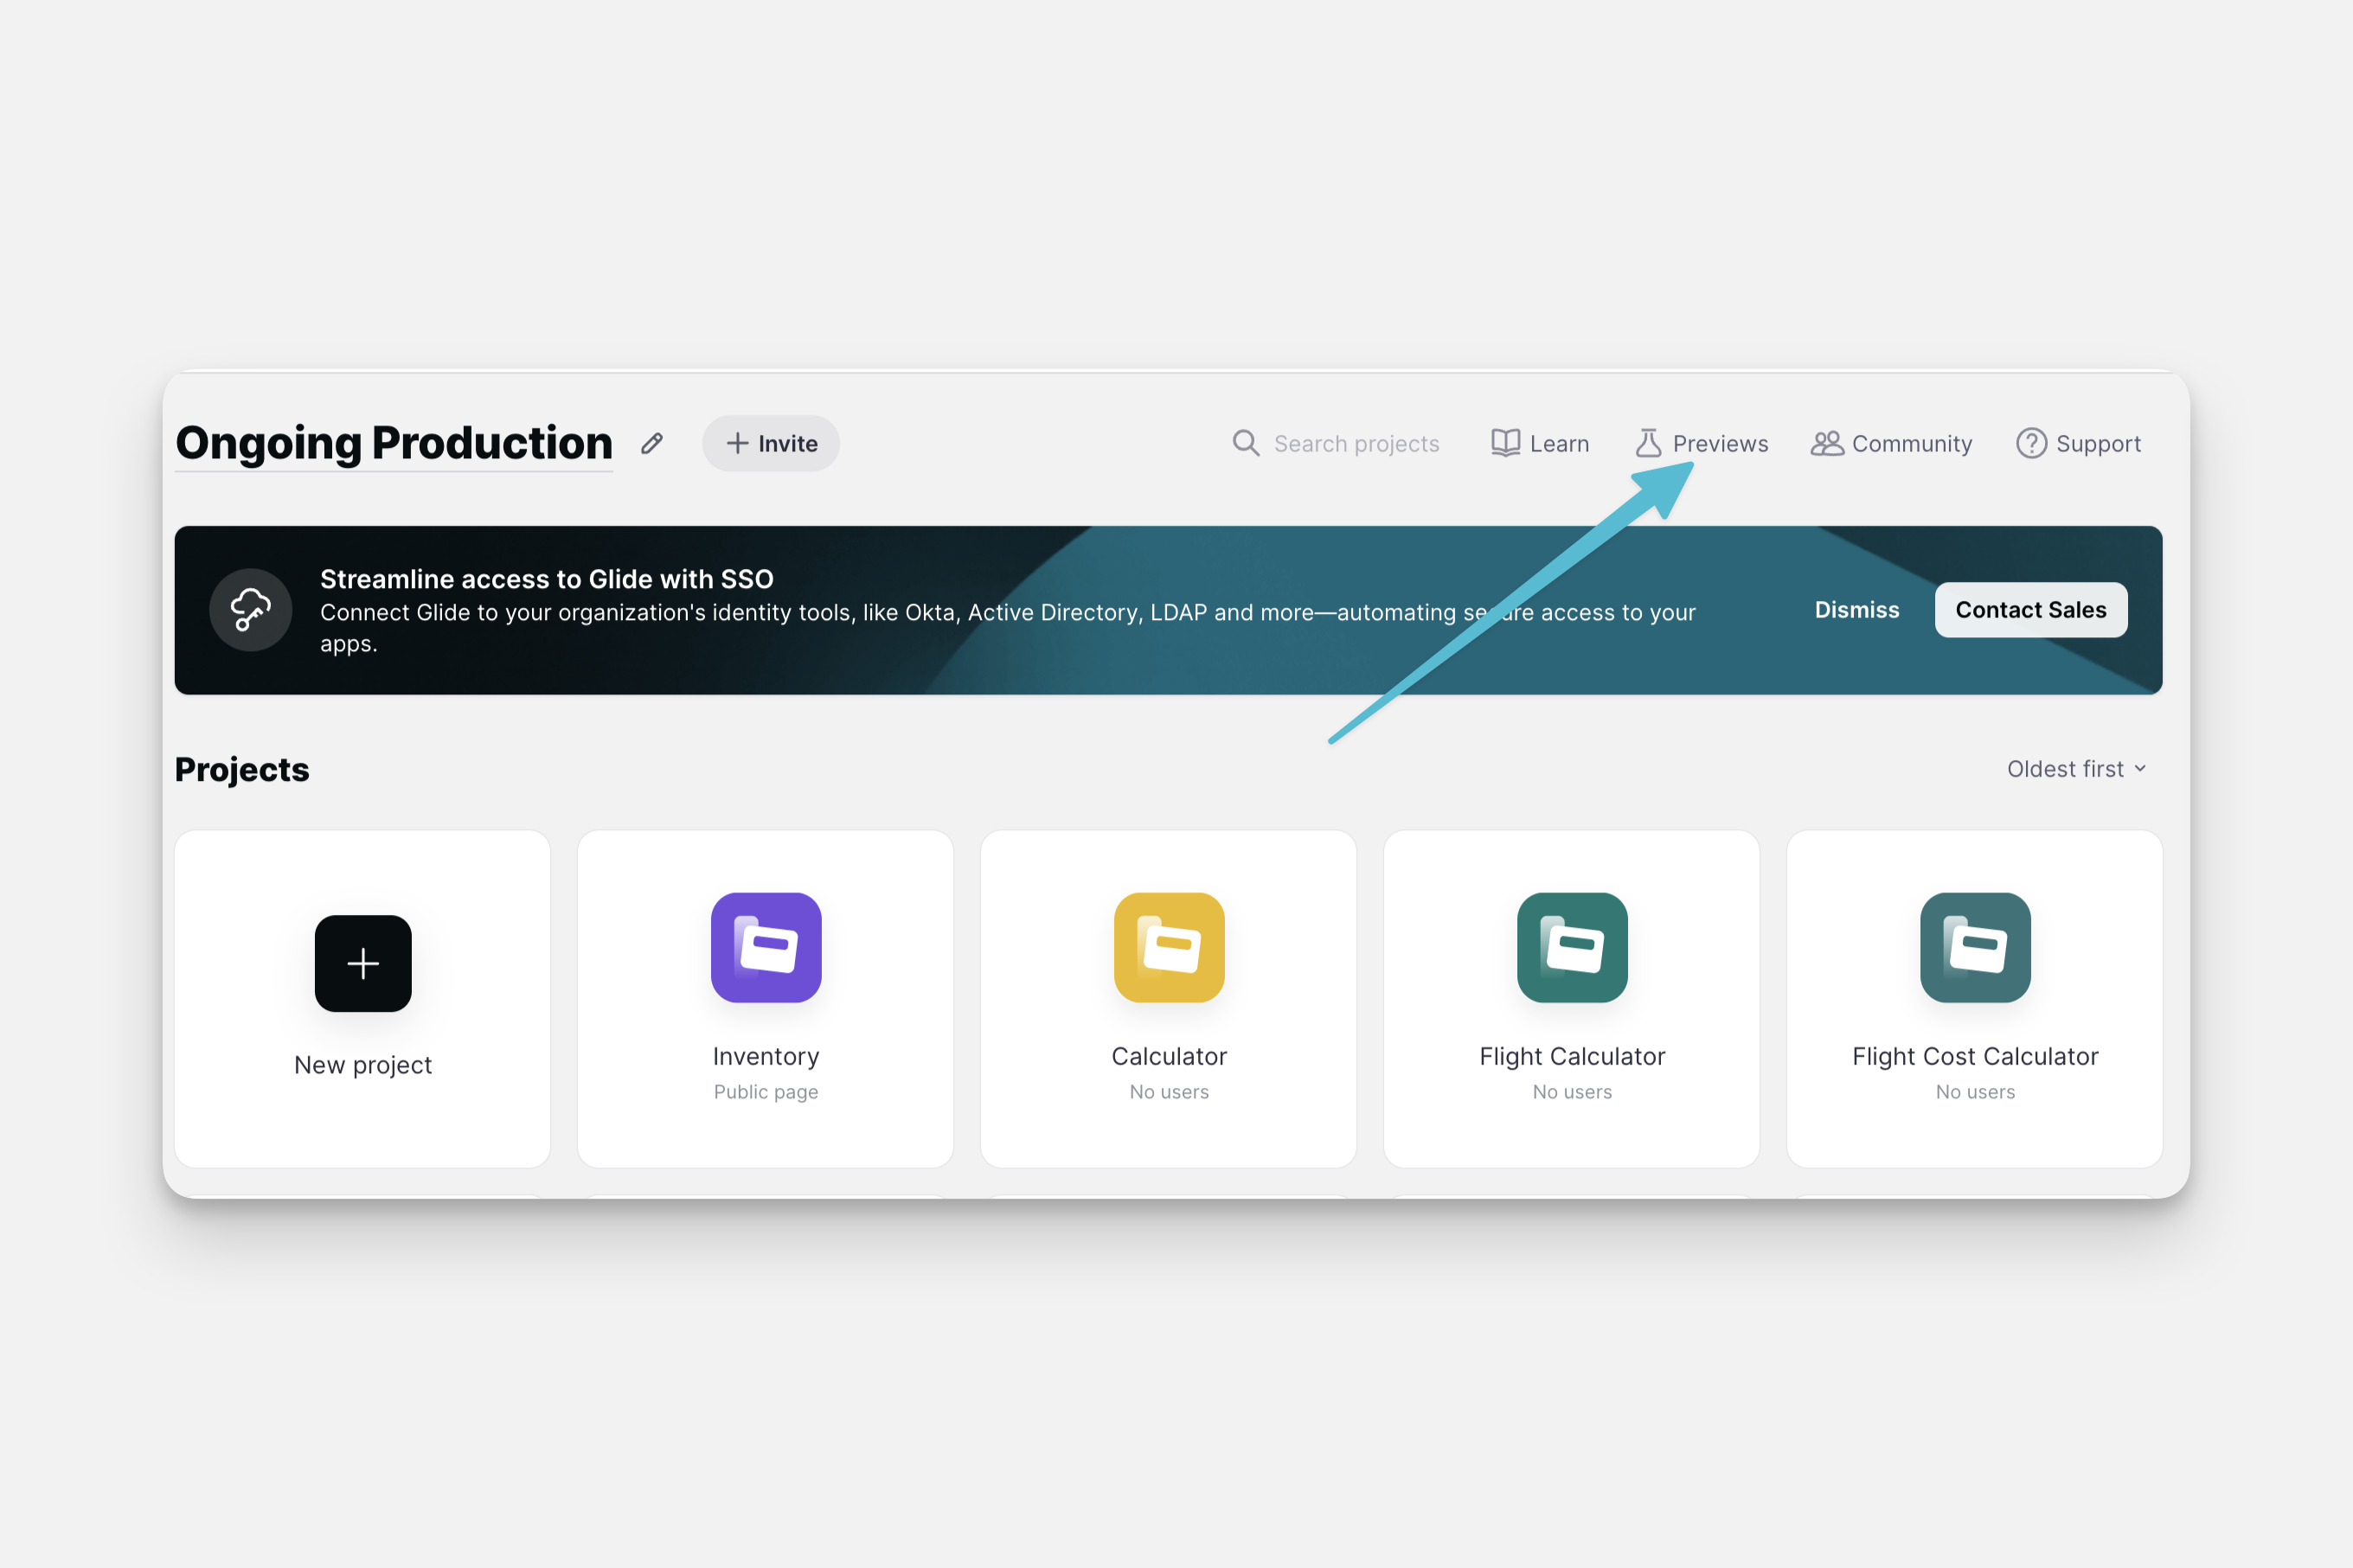
The Note Component isn't officially published yet, but you can have a play around with it by enabling it in the Previews
The Note component allows users to create, edit, and save text using a full-featured WYSIWYG (What You See Is What You Get) editor. With styling features like headings, lists, italics, and more, you can add clarity and emphasis to text in your app.

Features of Note Component
The Note component includes a rich set of formatting options:
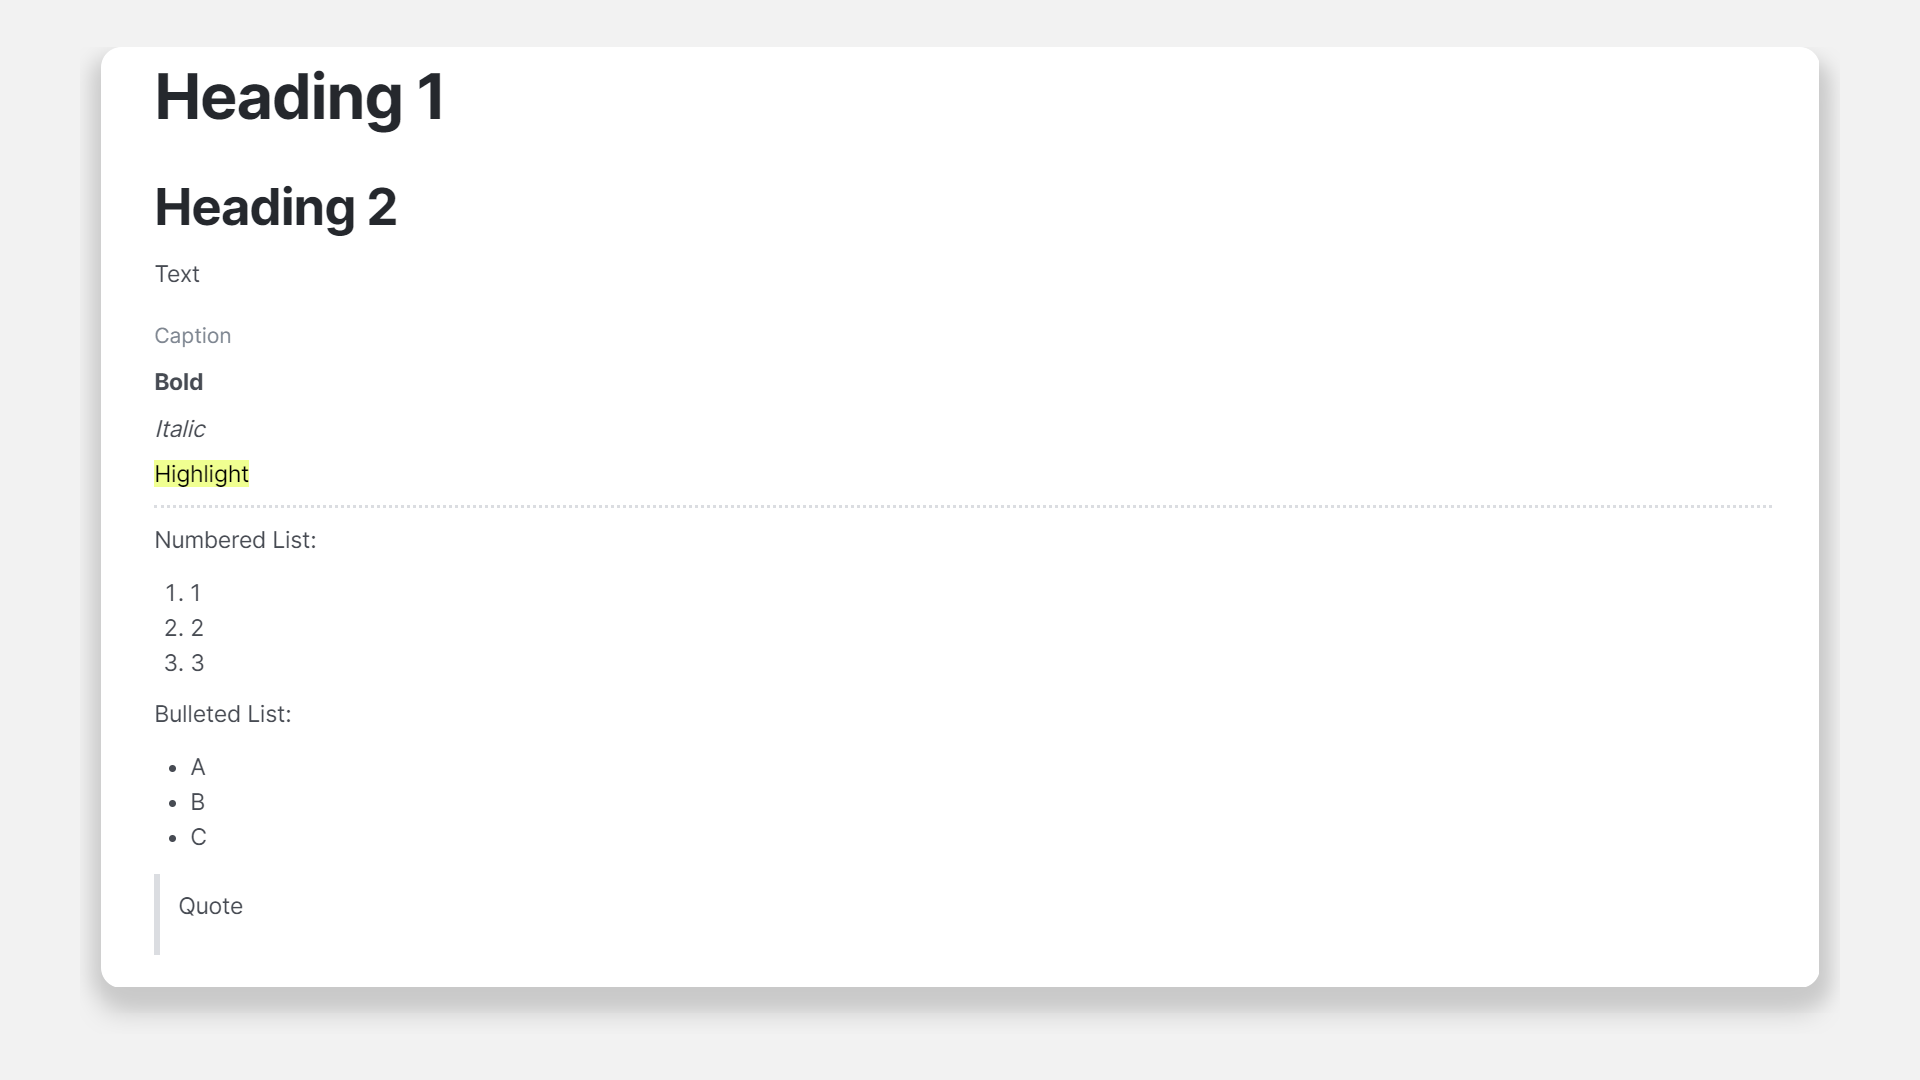
- Headings: Organize your text with Heading 1 or Heading 2 styles.
- Captions: Use caption text for brief explanations or additional context.
- Numbered List: Create a numbered list for orderly content.
- Bulleted List: Use a bulleted list to share information without a specific order.
- Quote: Distinguish an important statement or quote from the rest of your text.
- Bold Text: Add emphasis to your text by making it bold.
- Italicize Text: Italicize your text for subtle emphasis or to denote titles.
- Highlight Text: Highlight your text to draw attention or indicate importance.
- Horizontal Rows: Add horizontal rows to separate different sections of your note.
Using Note Component
Creating and editing a note works much like other text editors you see in email or word processors. Follow these steps:
- Click on the Note component field. An edit menu with rich text options will appear.
- Make the desired changes to your text.
- Click "Done" to save your changes.
.gif)
Configuring Note Component
Data
In the General tab on the right side of the Layout Editor, locate the Data section. In the Text field, select the destination to store the created or edited note. Here, you can also customize the Label of the component.
.png)
The note is stored as Markdown in a regular column in the Data Editor.
For an in-depth explanation of what Markdown is and how to use it, check out the Markdown Guide.
Actions
The Note component also supports actions, allowing you to trigger an action with the text written in the note. To configure this:
.png)
- In the General tab on the right side of the Layout Editor, locate the Action section.
- In Configure Action, select the dropdown menu to view action options.
- Select the action to be triggered when users interact with your Note component. You can also use saved actions.
For detailed information about all of the actions available in Glide, check out Actions.