Setting up Custom Collections
To set up a Custom Collection:
- In your Glide project, hit the "+" symbol to add a new component.
- Find Collections in the menu and select Custom.
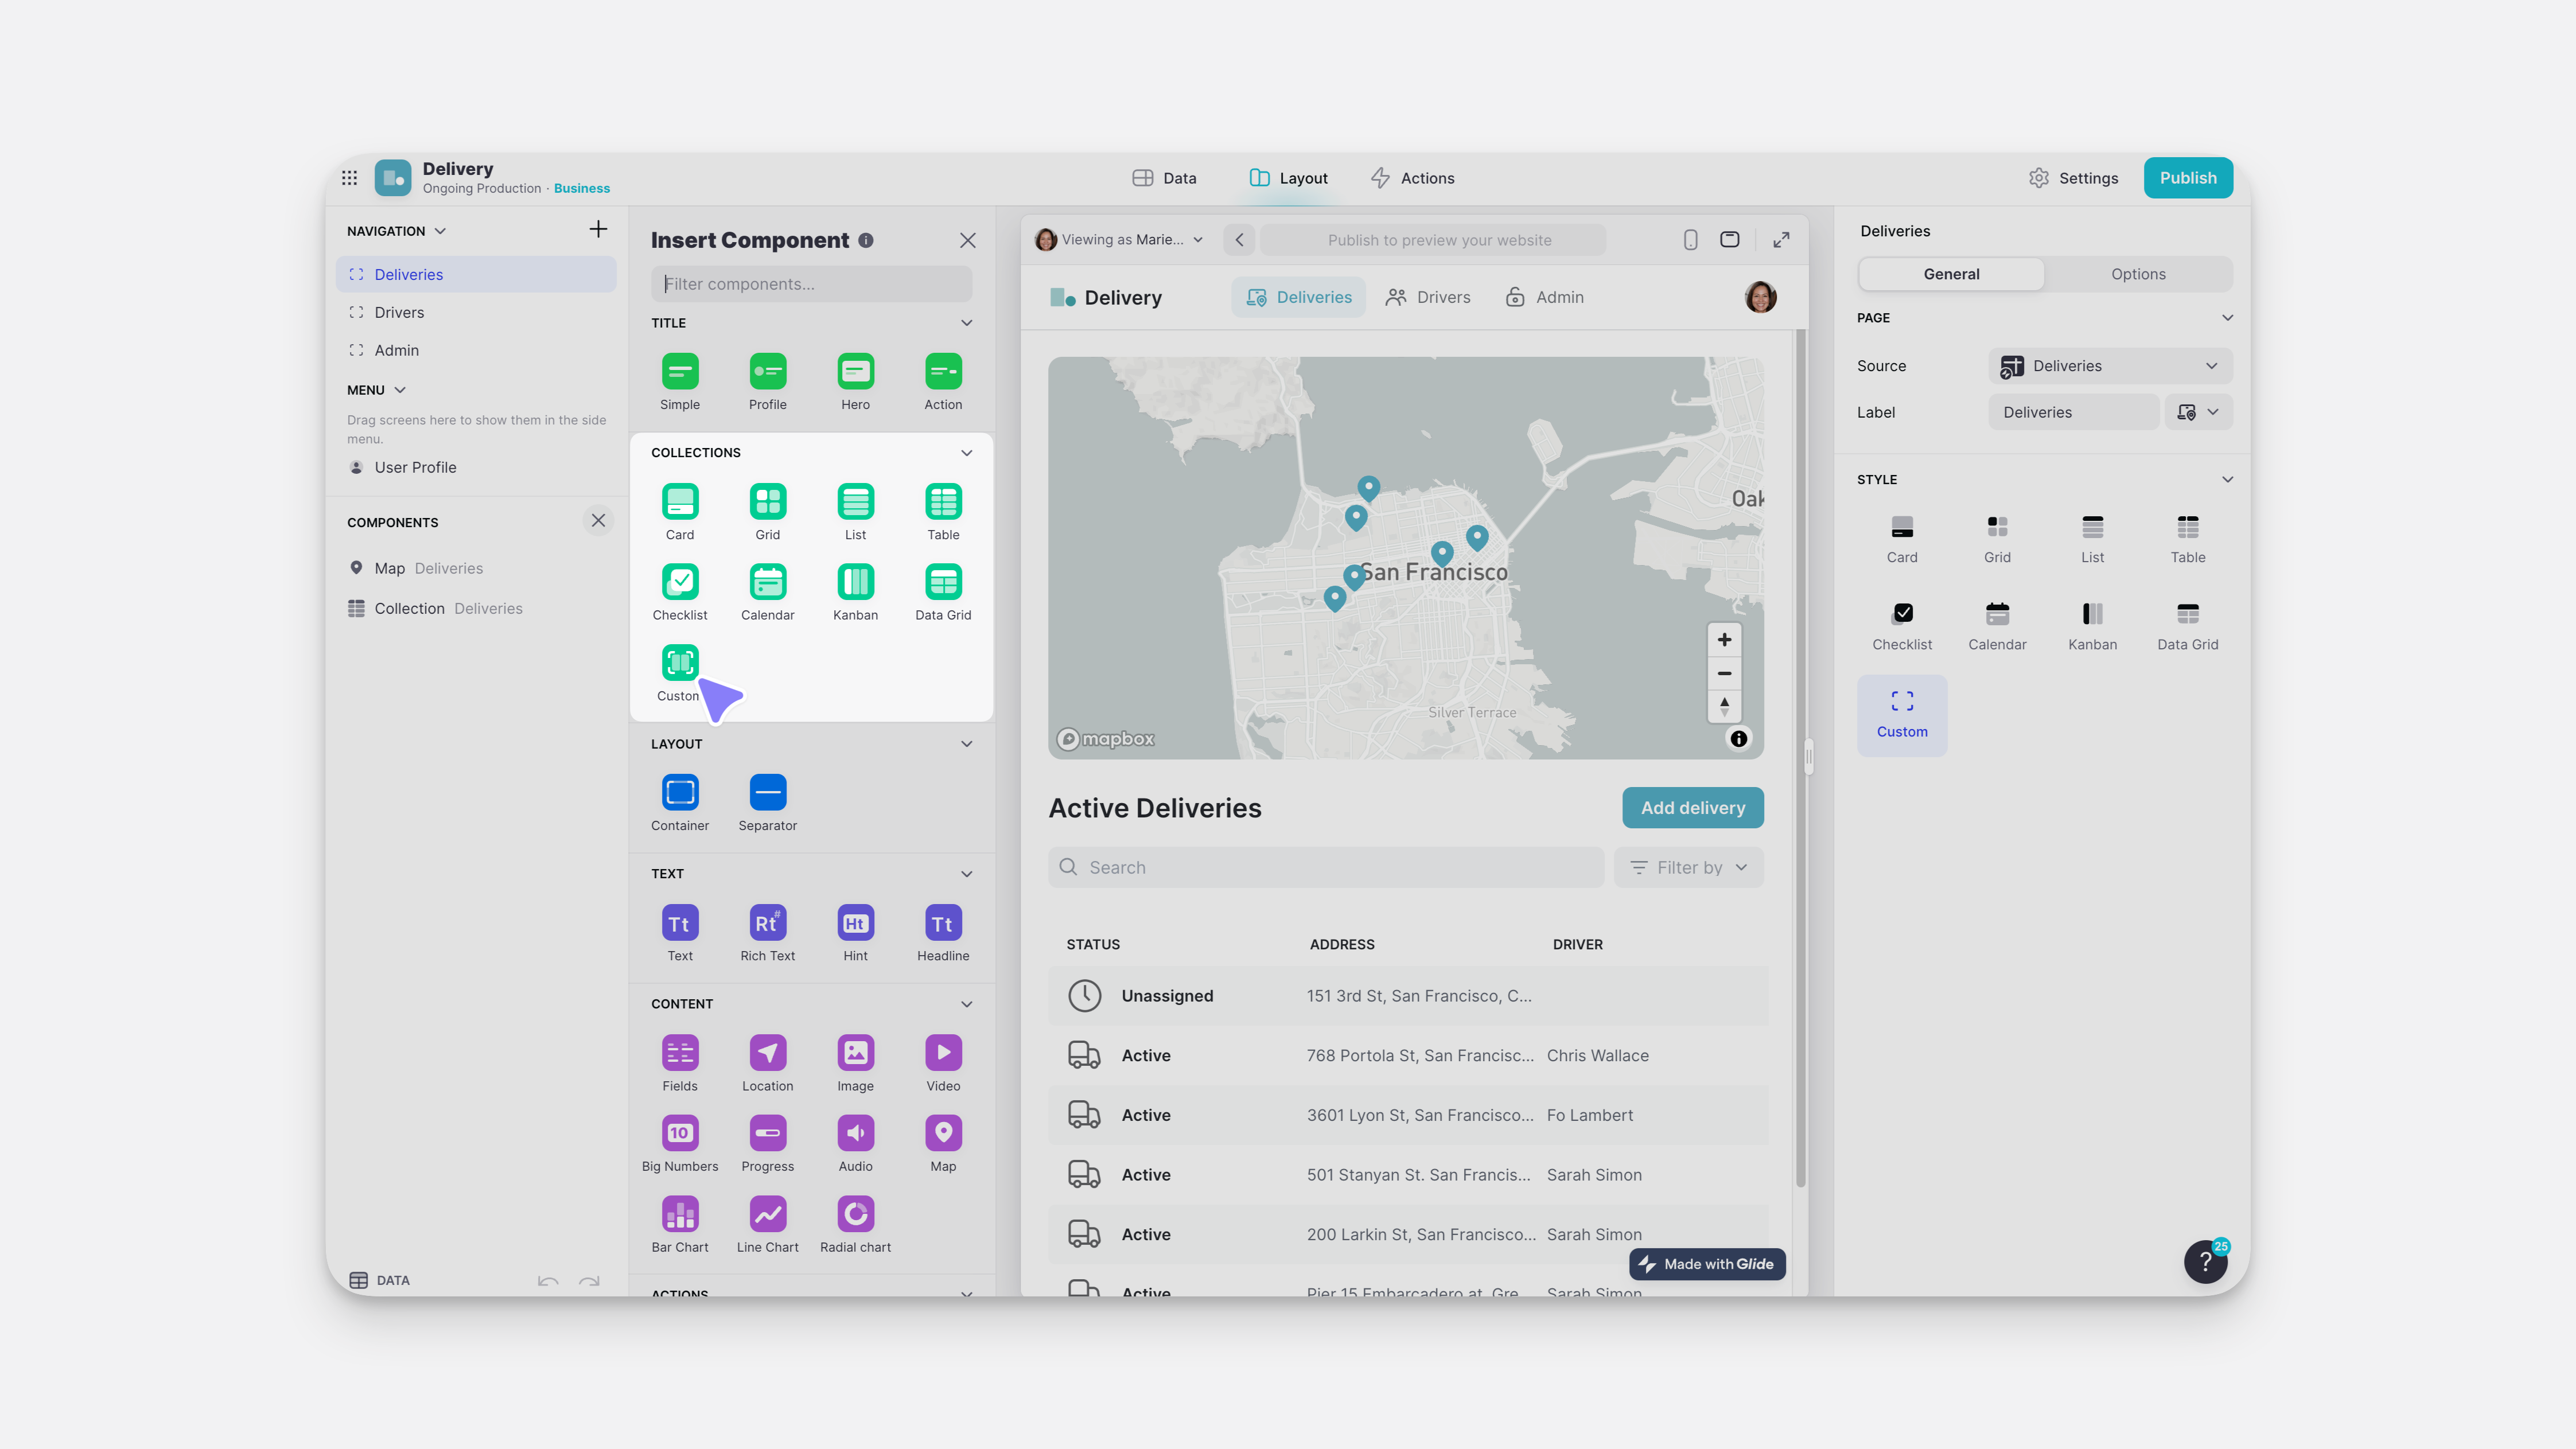
- Give your Collection Component a name.
- Choose what Data Source it should use.
- Add a title to your collection. This will appear for users in your app, at the top of your Component.
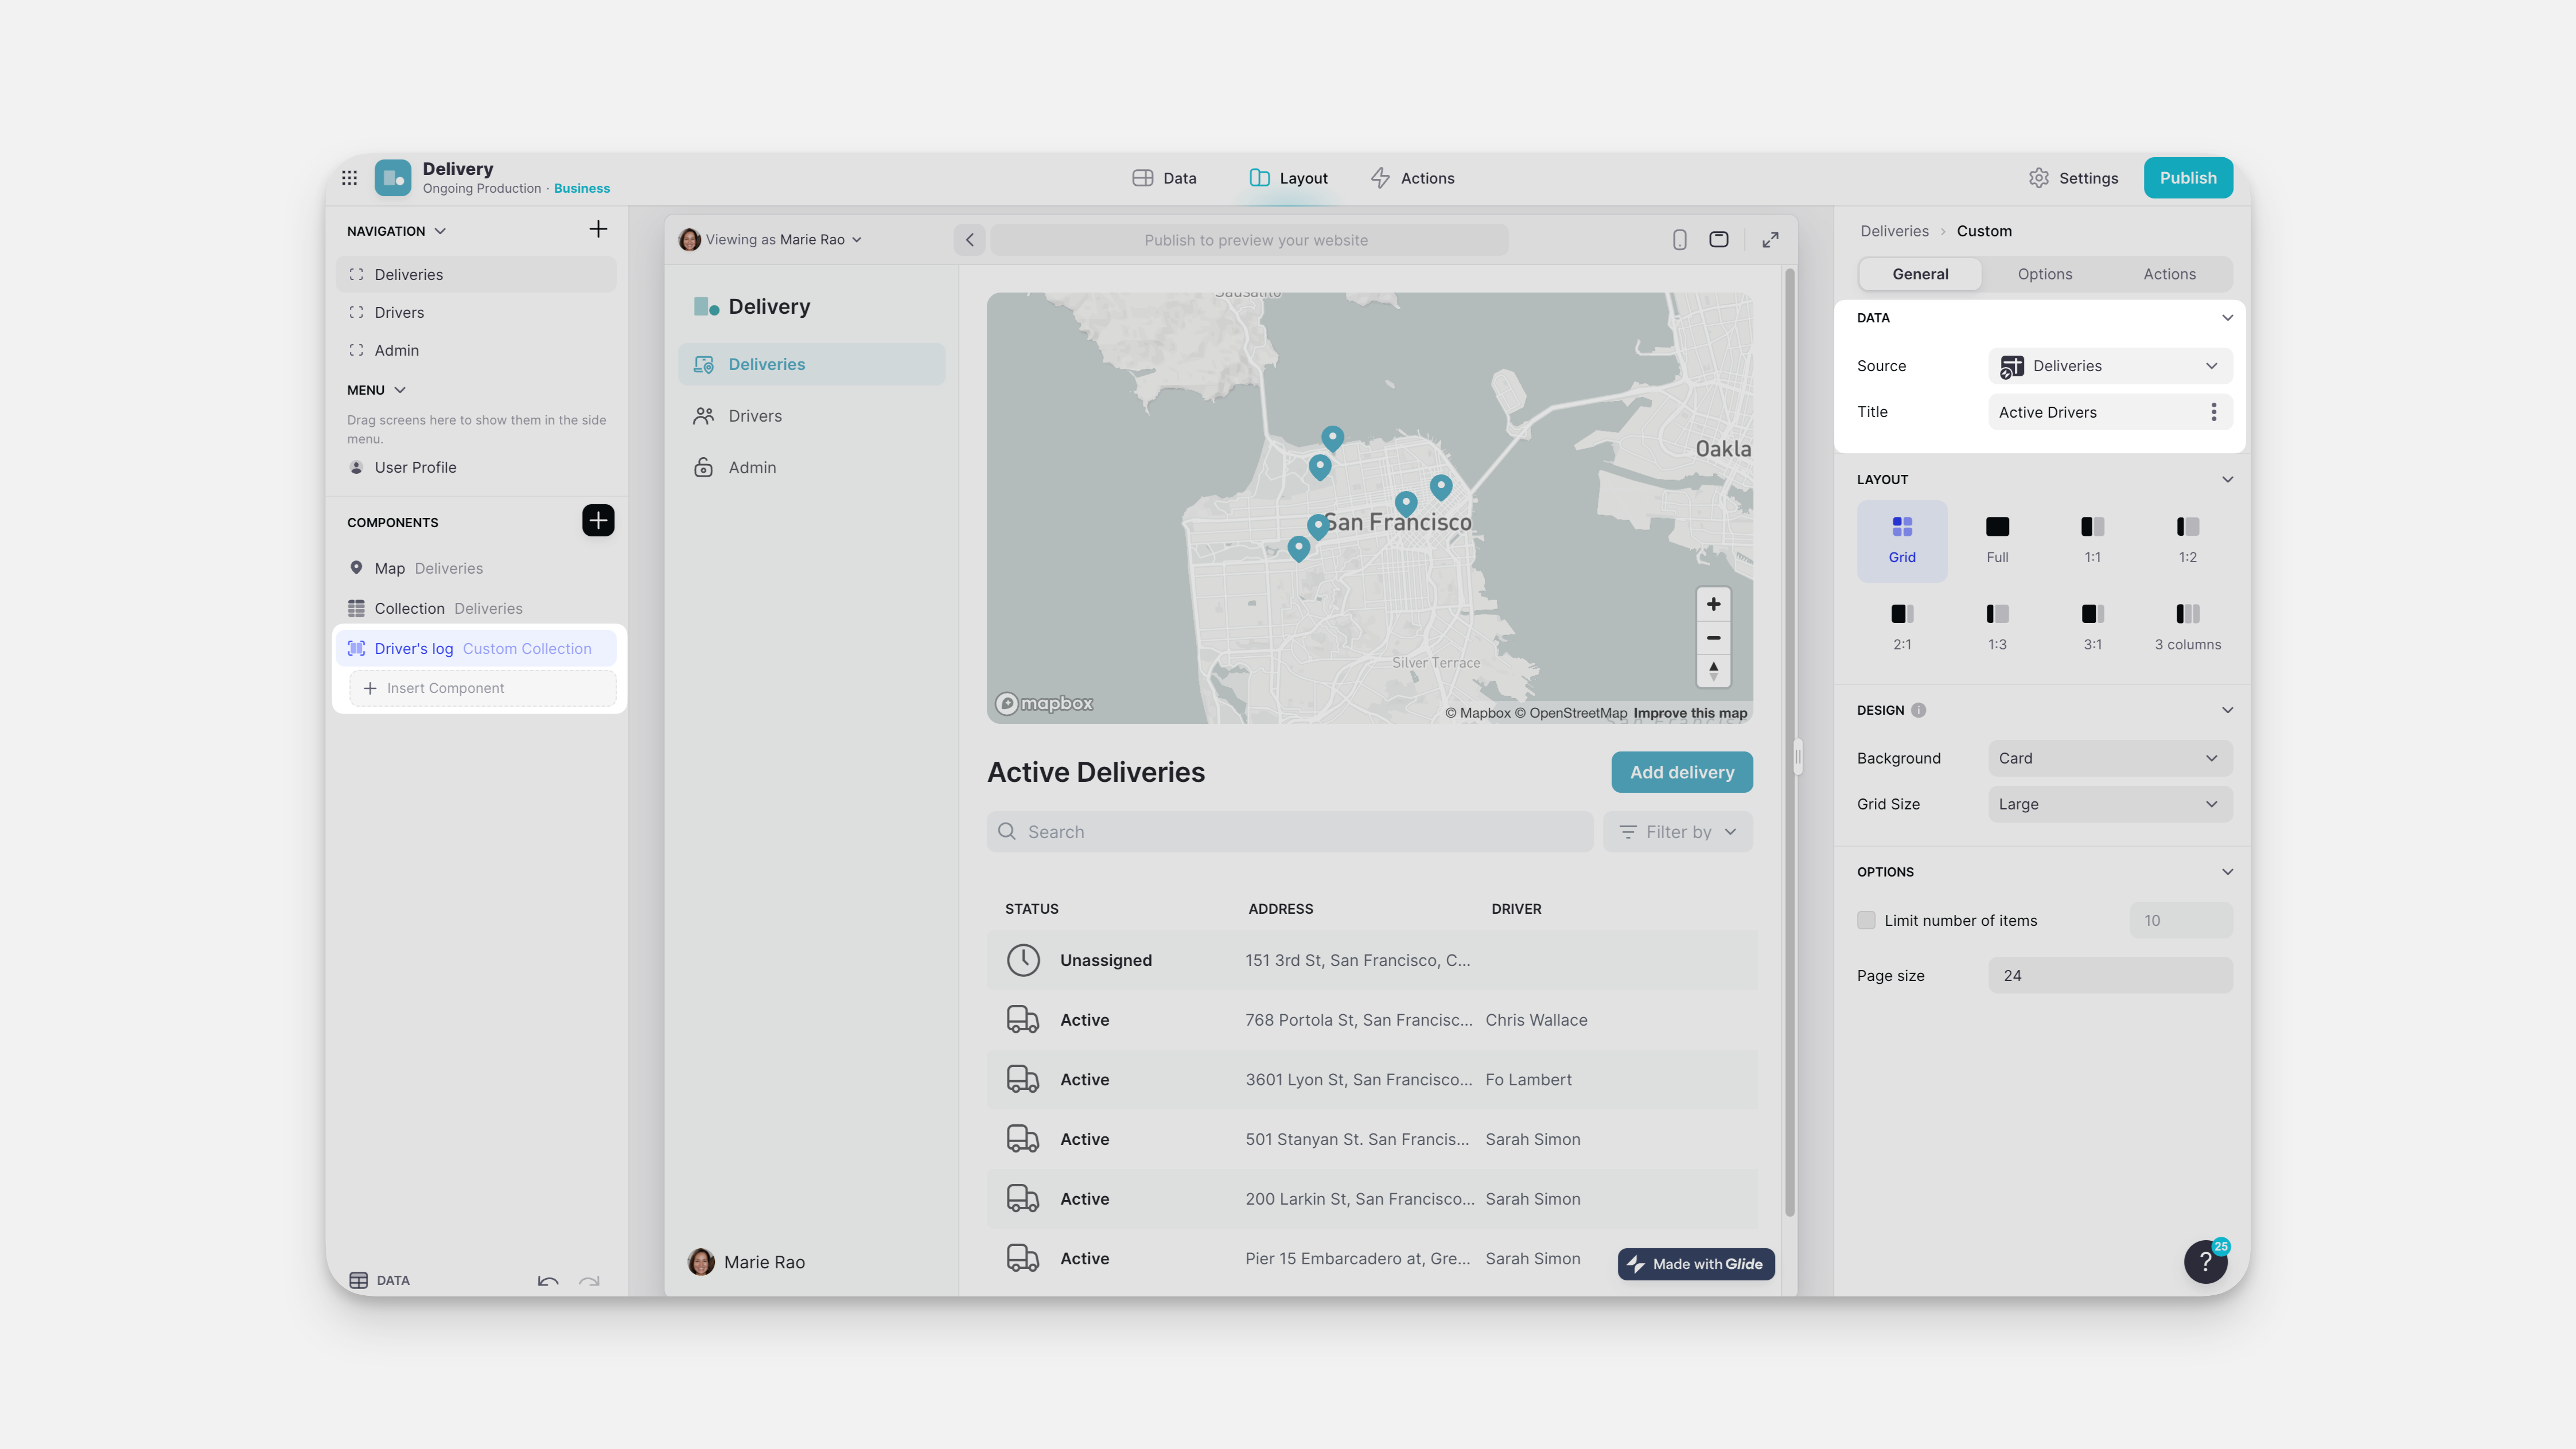
Configuring Custom Collections
Custom Collections offer many options to make your data look and function the way you want. You can:
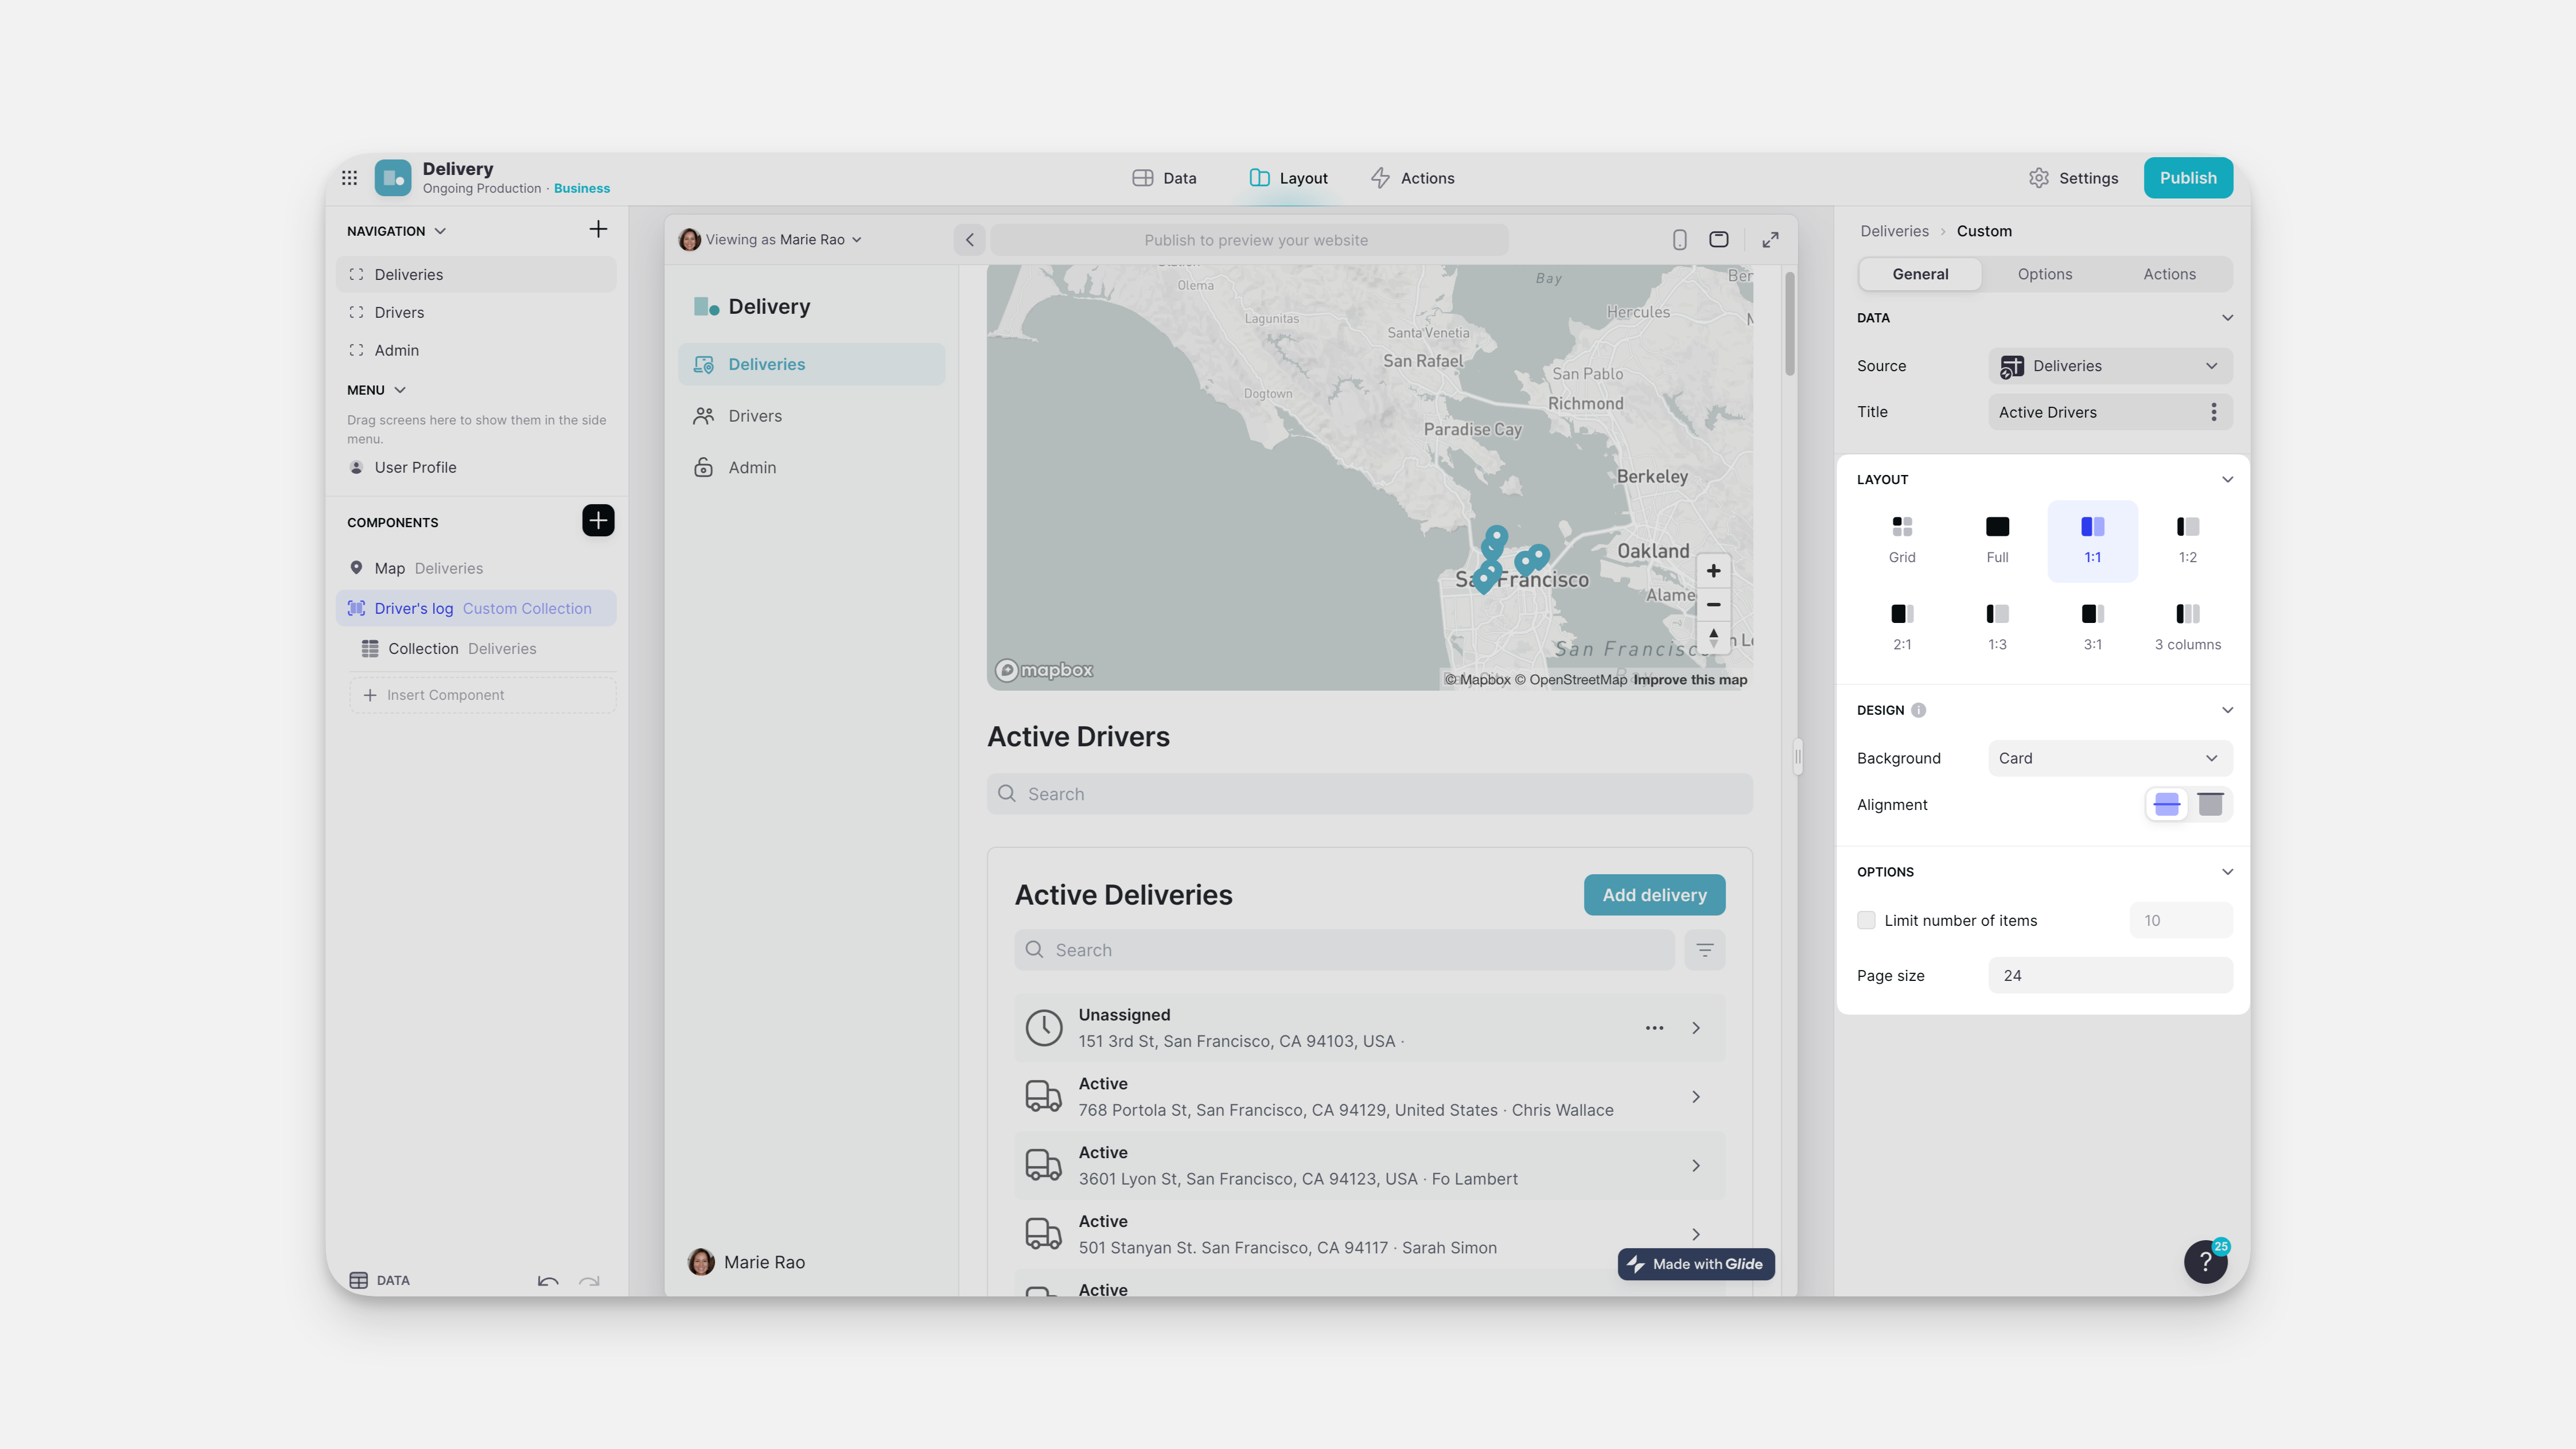
- Change the layout and design of your collection.
- Sort and filter your collection data using the filter feature to display only what's relevant to your users.
- Limit the number of items that appear, as well as how many pages to show per page.
- Set visibility conditions for your data.
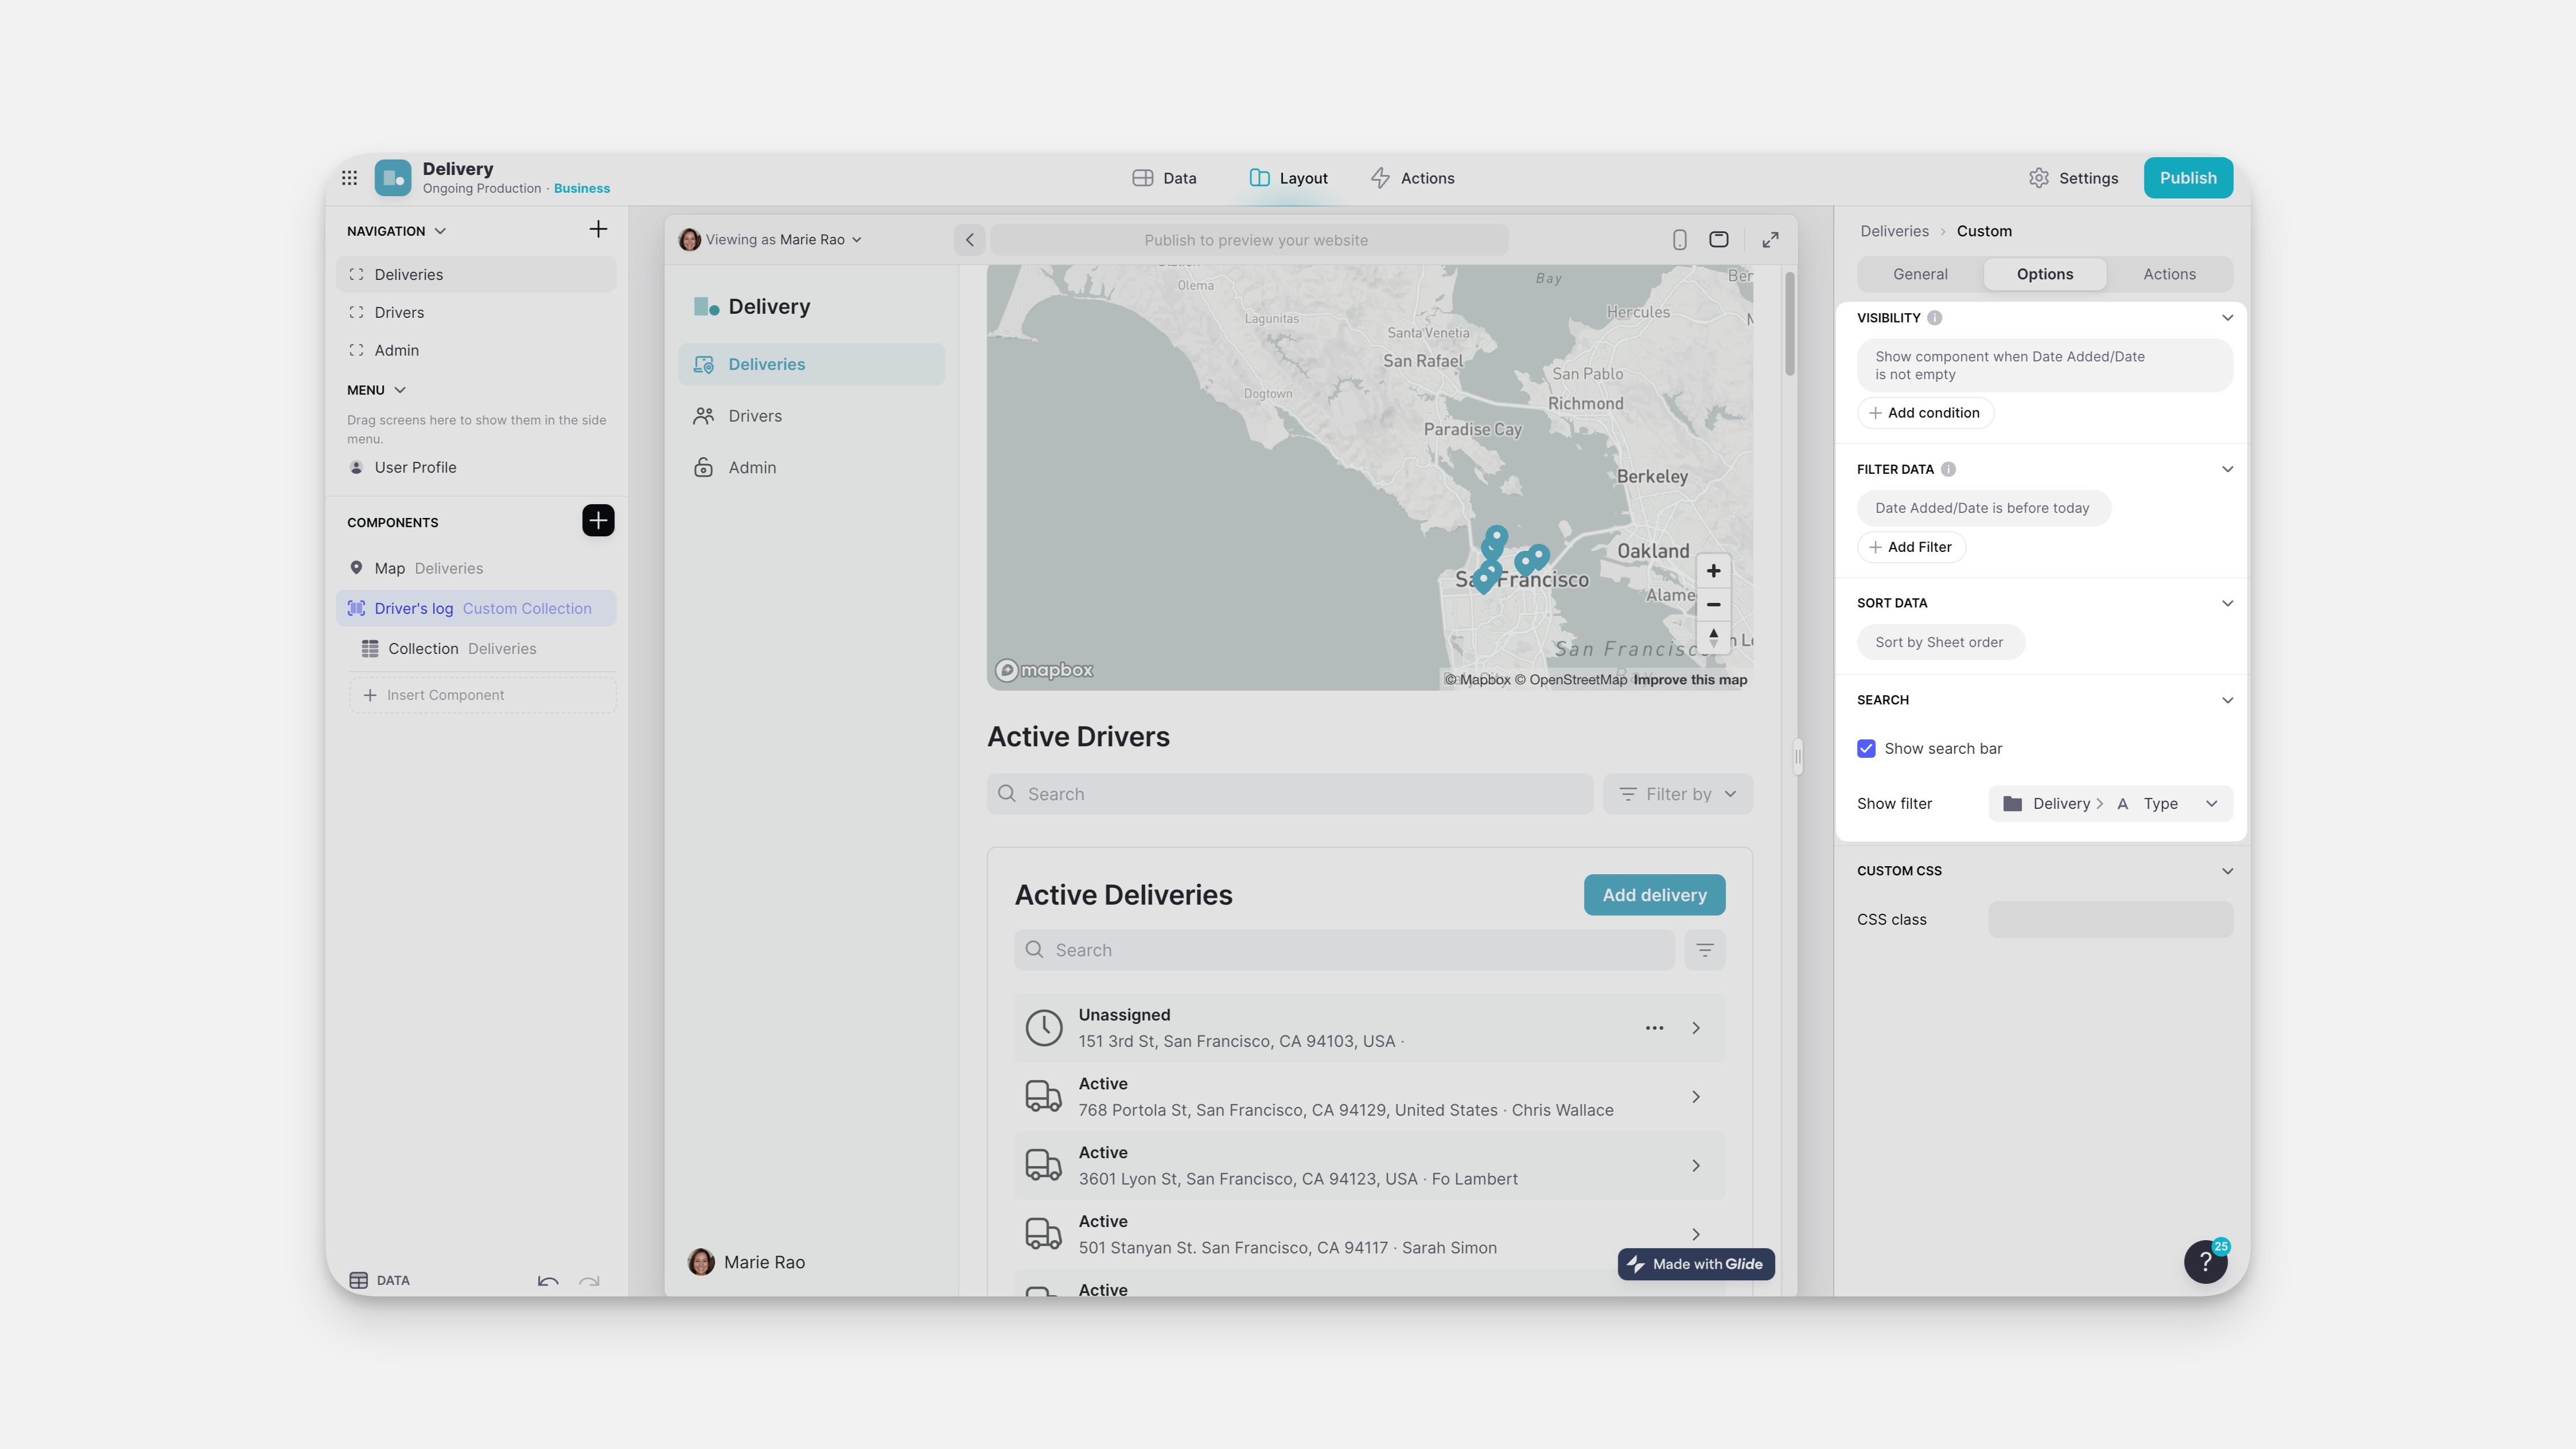
To change your Custom Collection, go to the Components section, click on your collection, and make your desired changes. You can preview each change live as you make adjustments.
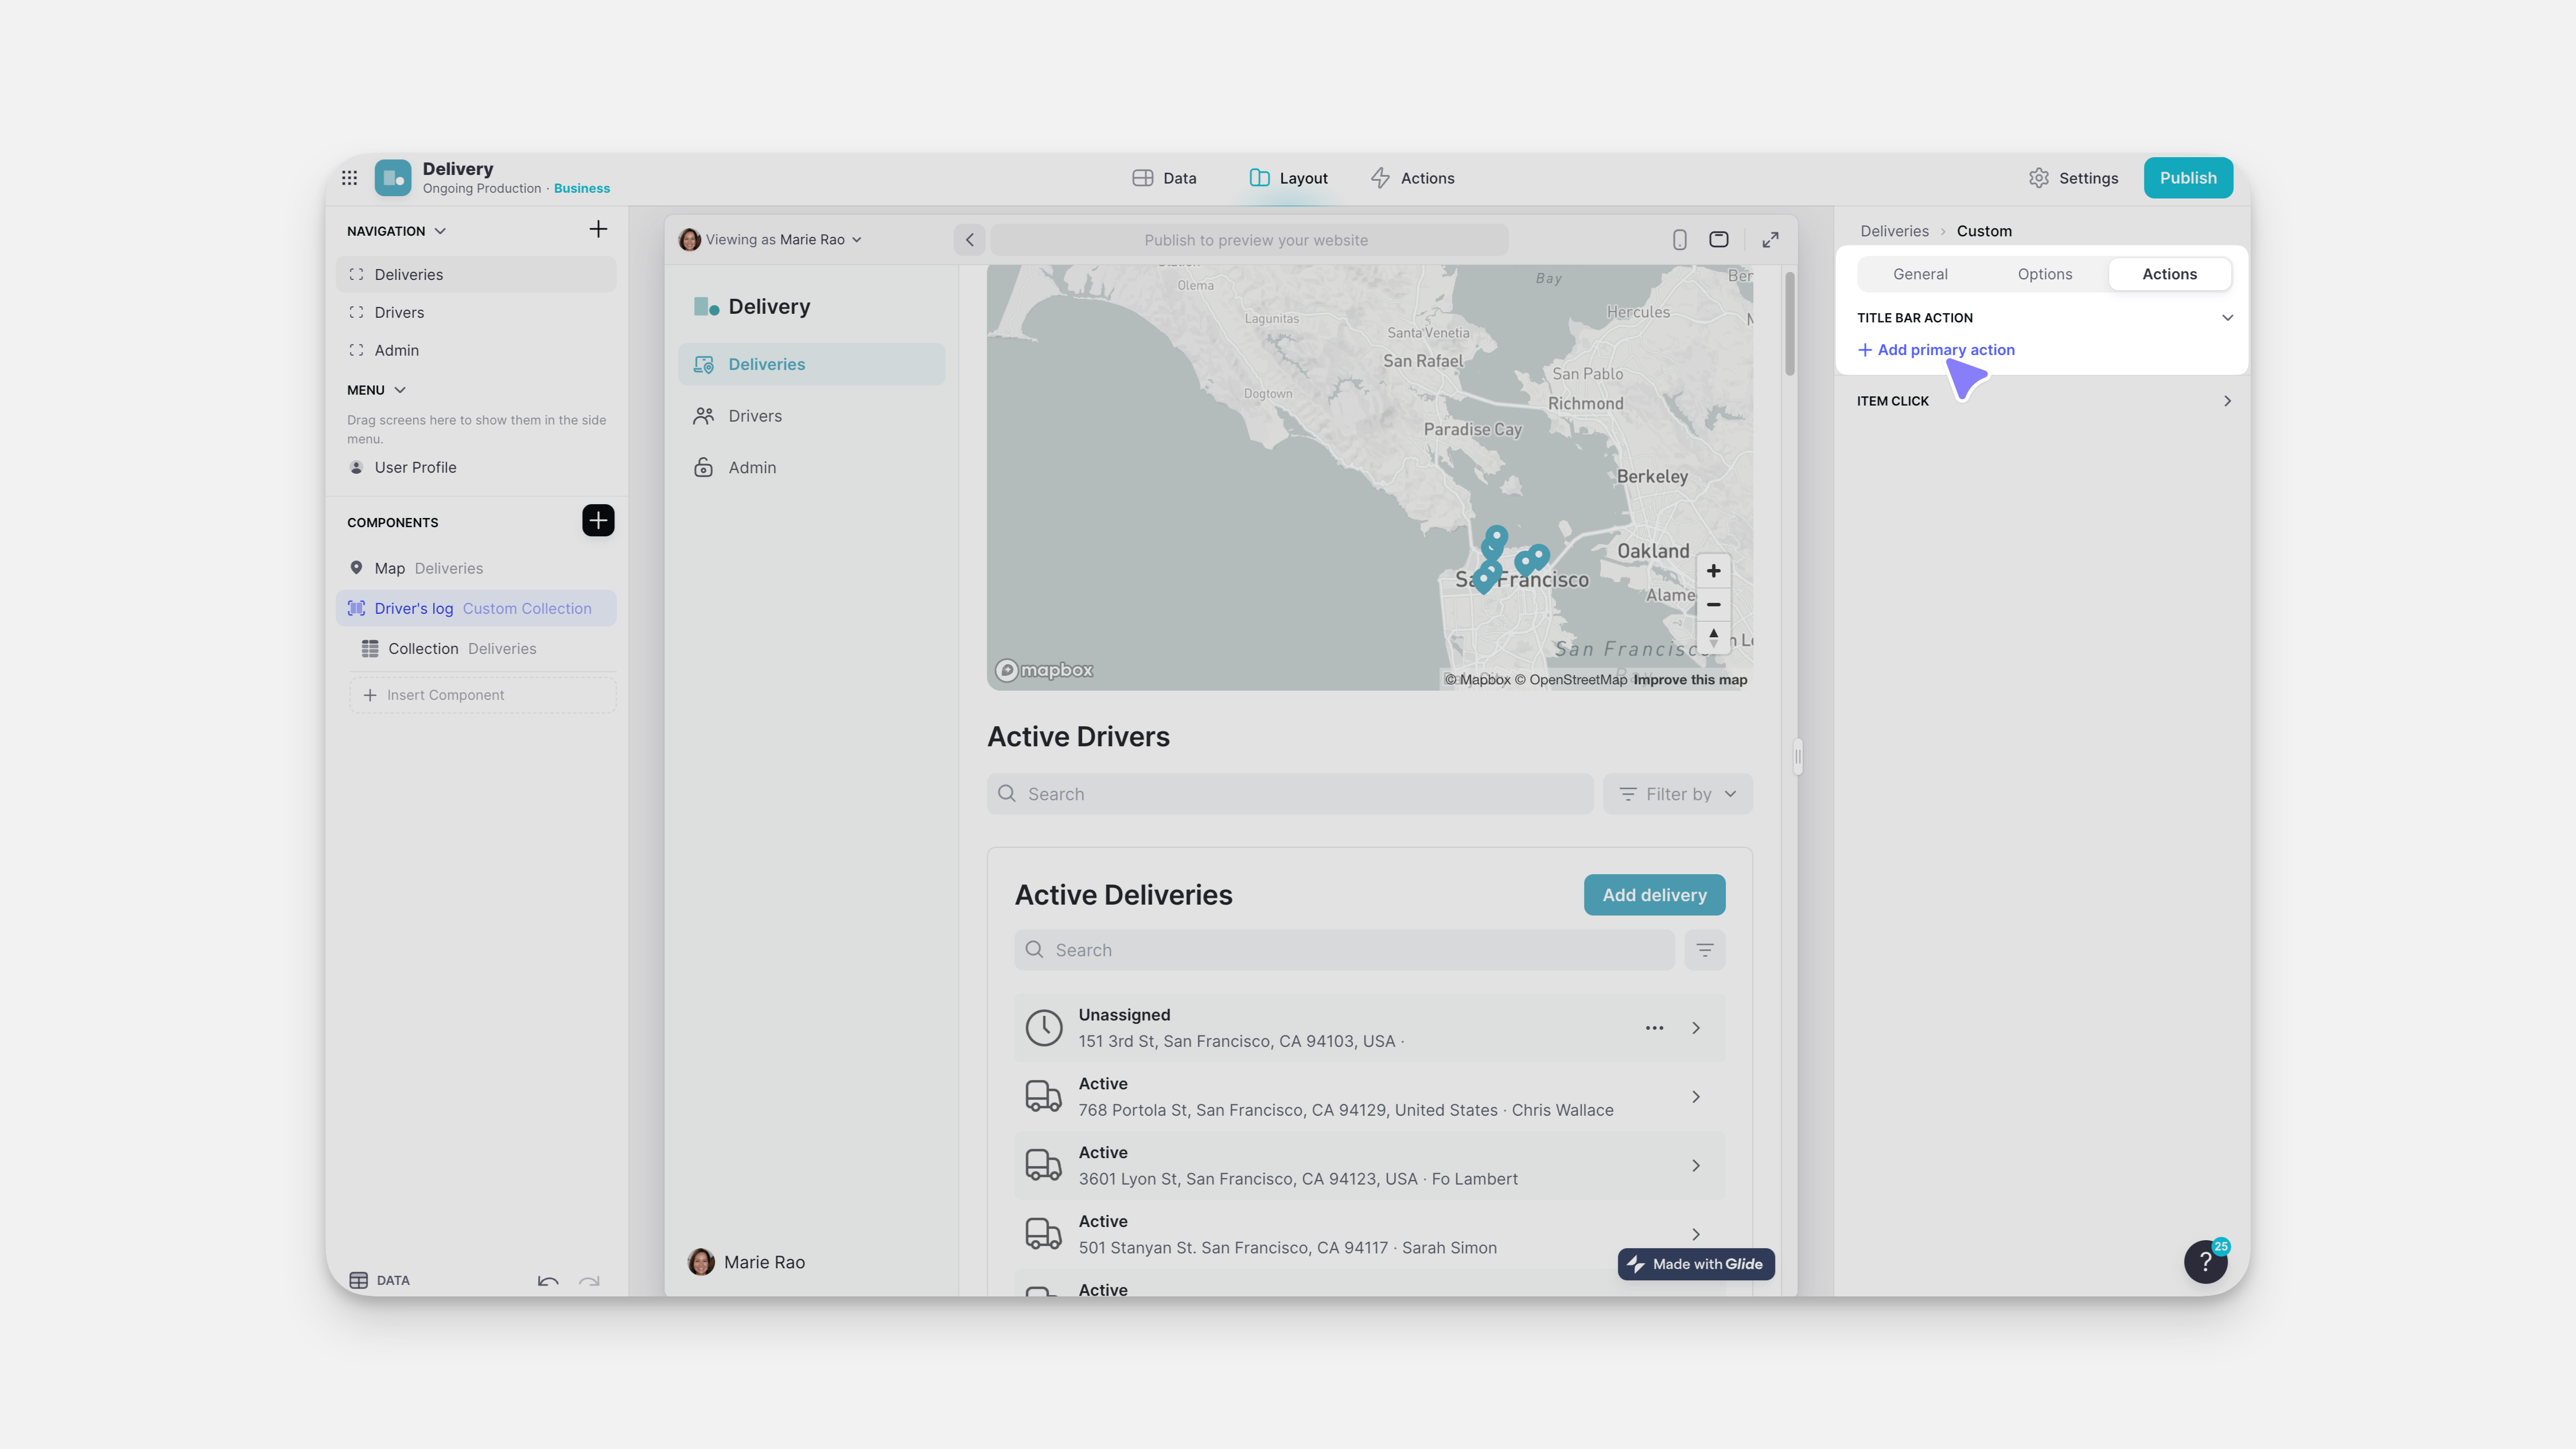
Adding an Action to your Collection
Add actions to your Custom Collection to allow users to interact with your data. For example, you can add a button that takes users to a detailed view of a record or opens a form to submit information to you.
To add an action to your Custom Collection:
- Select your Custom Collection, then go to the Actions menu on the right side.
- Click "Add Primary Action"
Want to review how to add and customize Actions?
Check out our complete documentation on every action here.
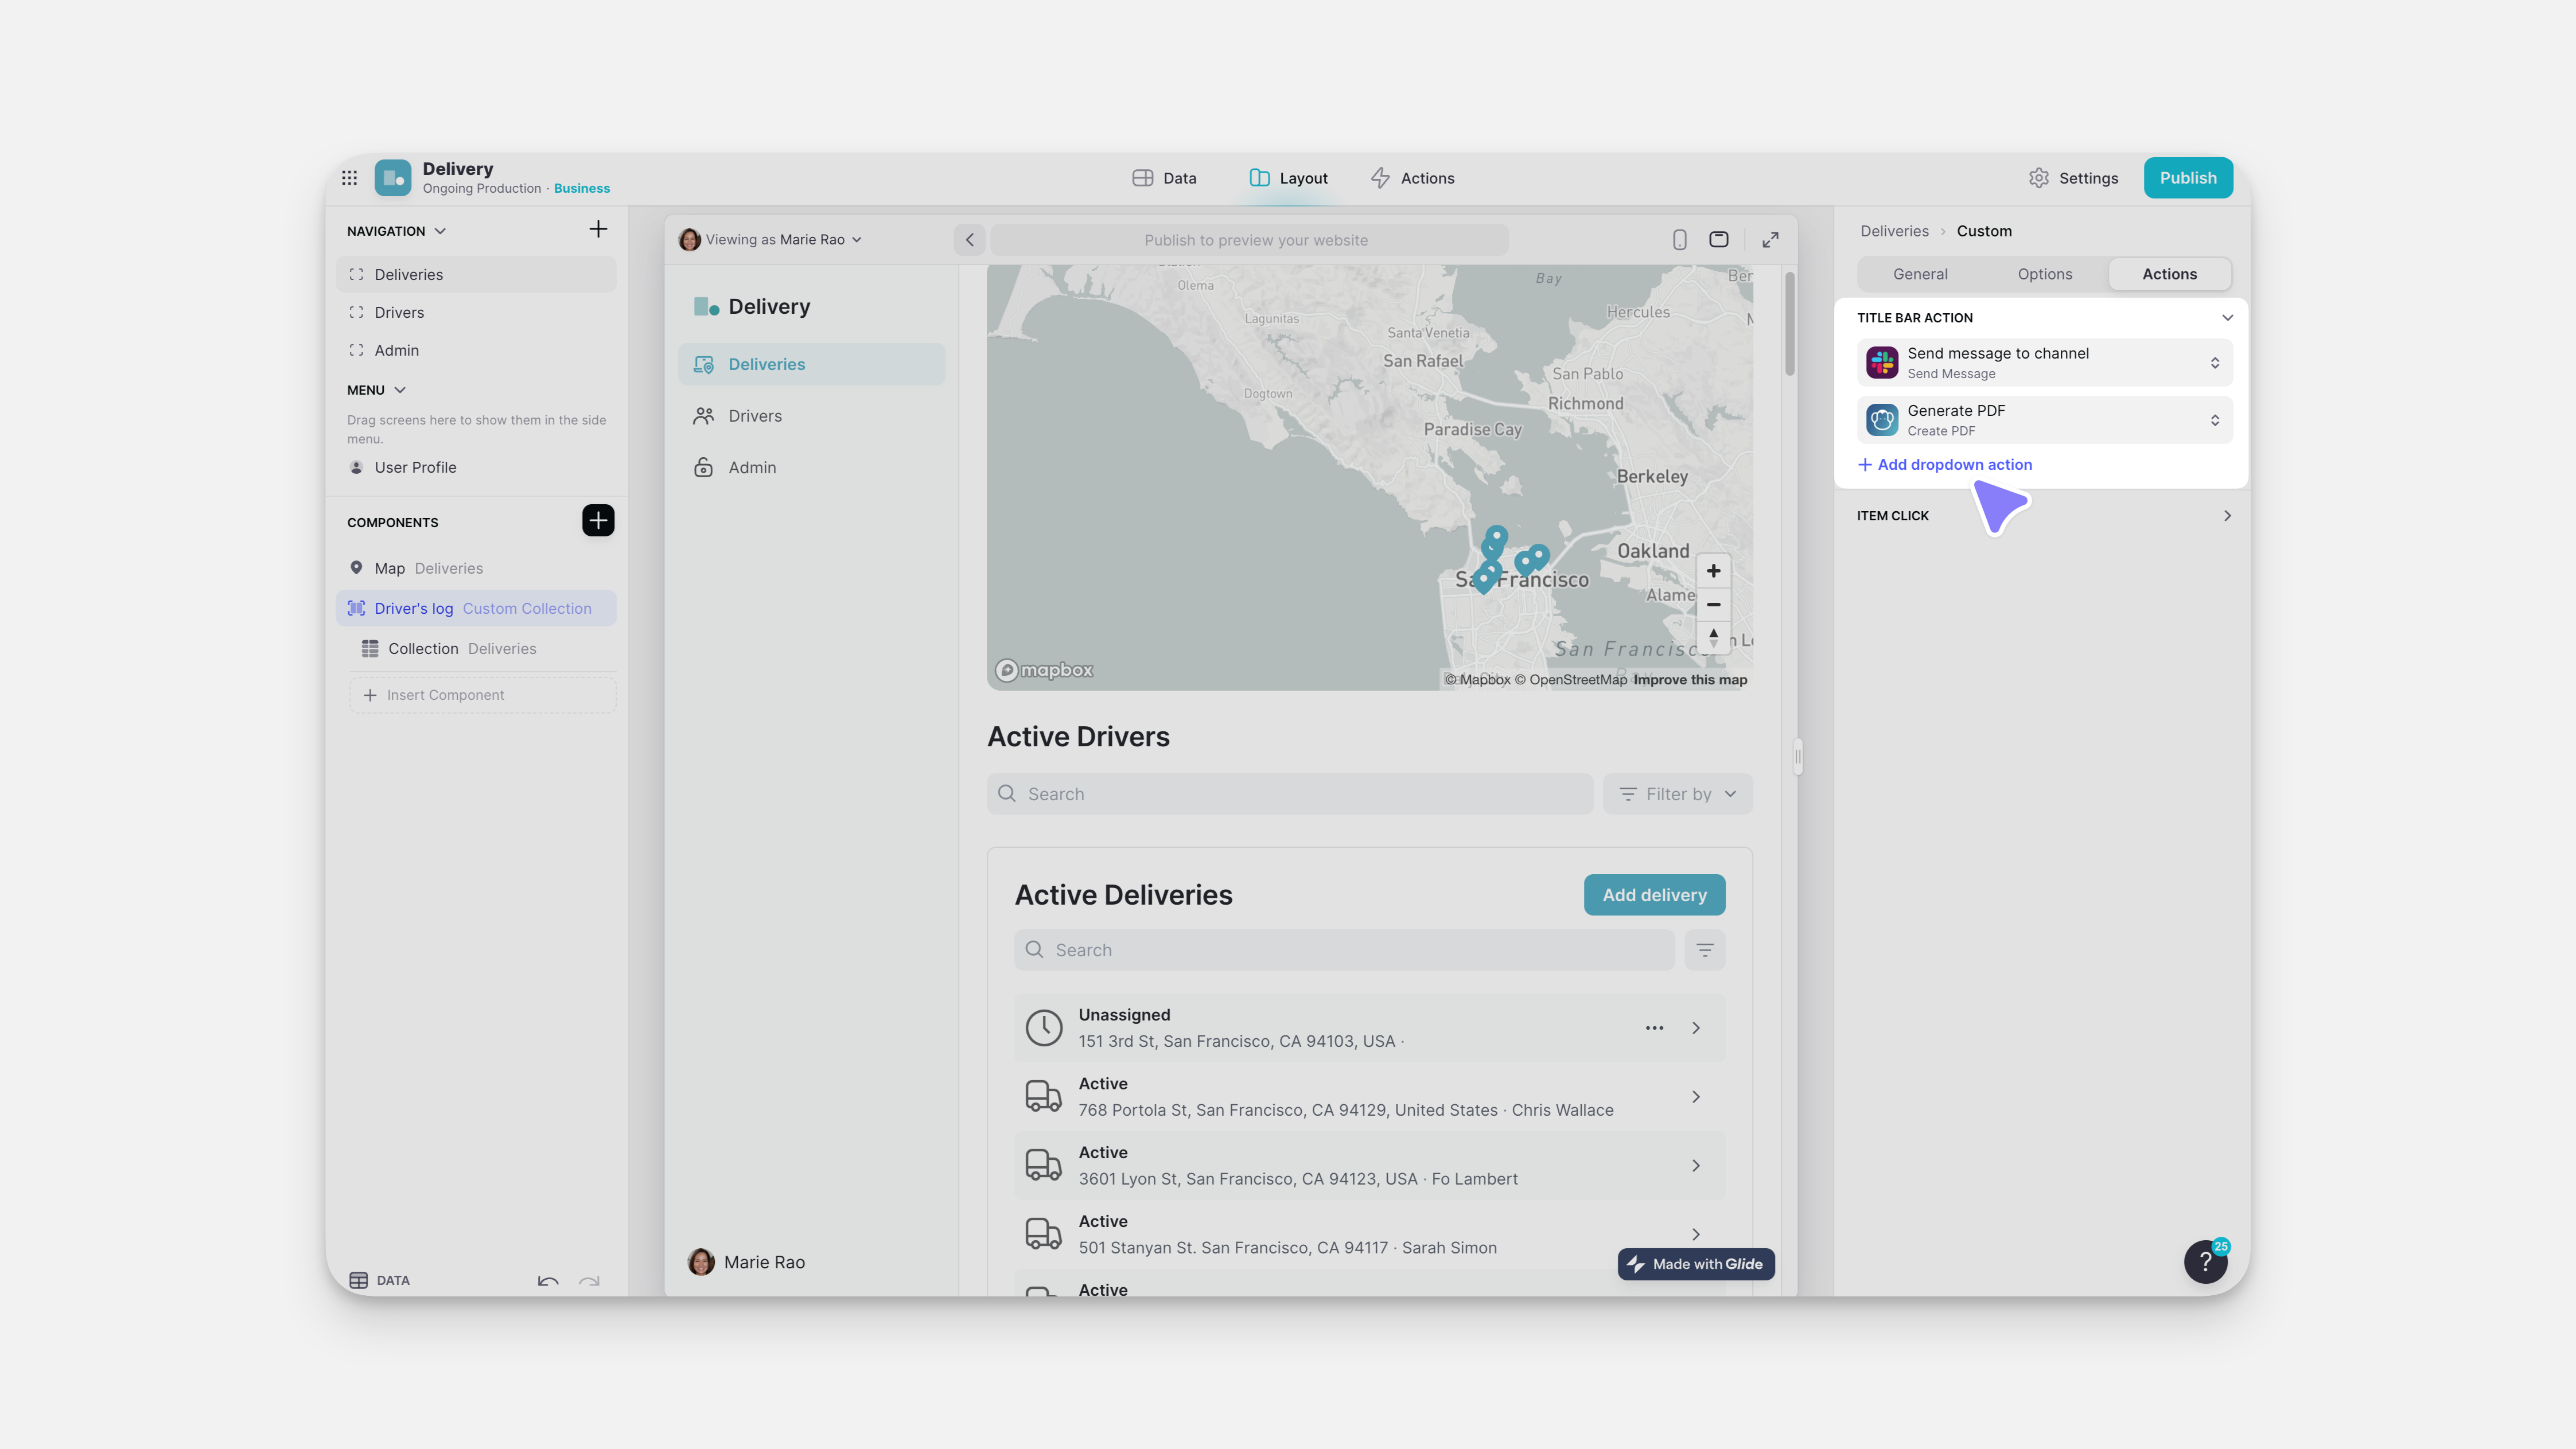
- Choose from our menu of actions, or create your own custom action.
- If you'd like to add a second button to do a different action, select "add secondary action."
- If you'd like to add a third, dropdown action, select "add dropdown action."
FAQ
Updated 2 weeks ago