Webhooks are a way for apps to send messages to other apps. Here, we mean apps in the broadest sense – Gmail, Facebook, PayPal, Slack.
Webhooks let these programs speak to each other and to be notified when something happens. For example; when a new payment is made in Stripe, send that data to Slack as a notification.
.png)
Glide's Webhook Action lets you send data from your app to another app. The use-cases for this are limitless but here are a few examples to give you the idea.
- When a user clicks a button, send the details of the current item as an email
- When a user submits a form, take the attached images, convert them to files and upload them to dropbox
- After a new sale is processed, send the details of that order to your accounting software.
To demonstrate how to configure a webhook, we'll set up the third scenario – sending sales info from a Field Sales app to our accounting software.
Webhooks can be used in lots of different ways but do require a specific format – and technical knowledge to implement. Just using the Webhook Action alone does not allow you to talk to any service – you need to configure the endpoint (receiver) correctly.
If you're an experienced developer, you can read Mark's post on the forum detailing the use of Webhooks.
If you're non-technical, one of the easiest ways to get started with Webhooks is to use a workflow automation tool like Zapier or Make.
For security reasons, webhooks will only work when a user is logged into an app. It will not work with Public apps without sign-in.
Configuration
In our Field Sales app, we have a Custom Action set up to trigger after an order is approved. You can see this in the image below. We'll add a new webhook action to the end of this.

The Webhook initially requires two values.
- The Name
- The URL
The name can be anything that you want, but it's useful to make it descriptive so that it's clear what it's doing. Later on, you might be viewing many of your webhooks listed somewhere else and you may forget what they were for.
The URL is the address where the Webhook Action will send the data. If you're using Zapier or Integromat, you'll need to create a workflow and generate this URL first.
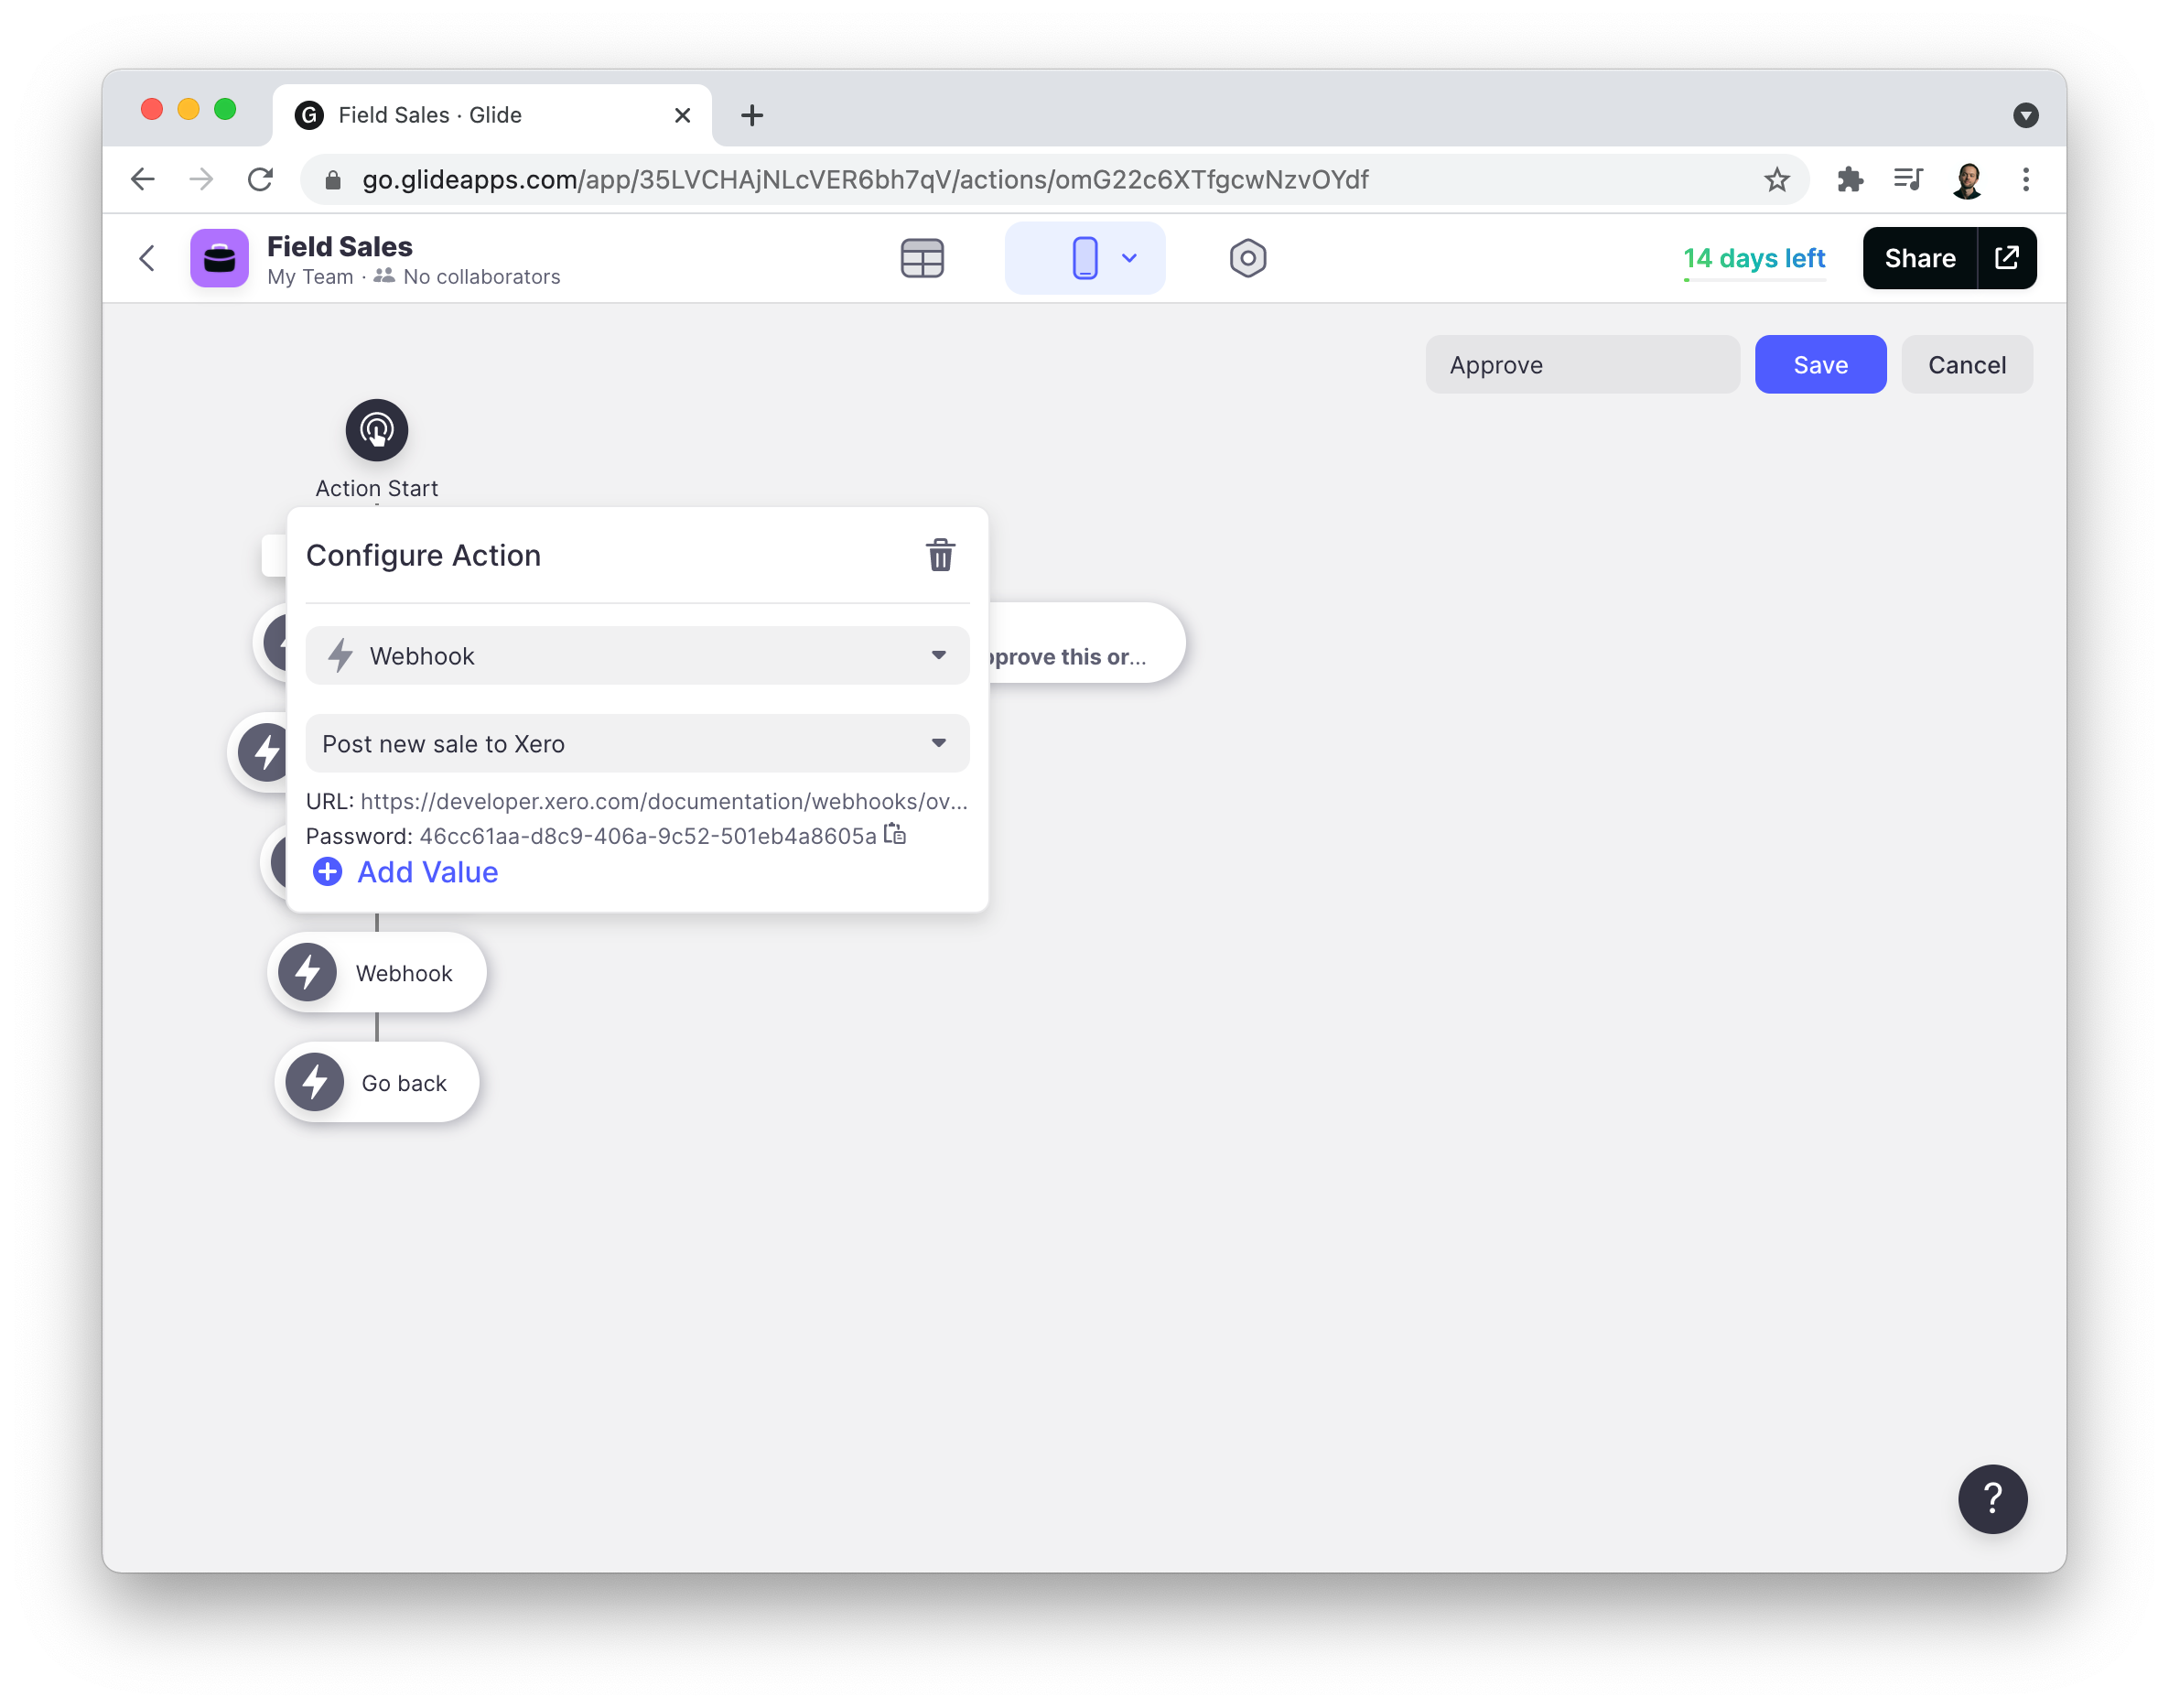
Authentication
When your new Webhook action is created, you'll see two values:
- The URL
- The Password
The password is a unique value, generated by Glide. This should definitely be used as an authentication method on the receiving end of your webhook. This prevents third parties from being able to send unwanted data to your webhook.
Glide will send a password in the Authorization header like this:
Authorization: Basic 56e7ccd3-655a-47fc-a905-5ad05a5f50cd
You can look up the expected password in the webhook configuration in Glide. Your endpoint should check whether the correct password is sent, to make sure that it was really called from Glide.
Adding Values
The next step is to add values to be sent in the Webhook.
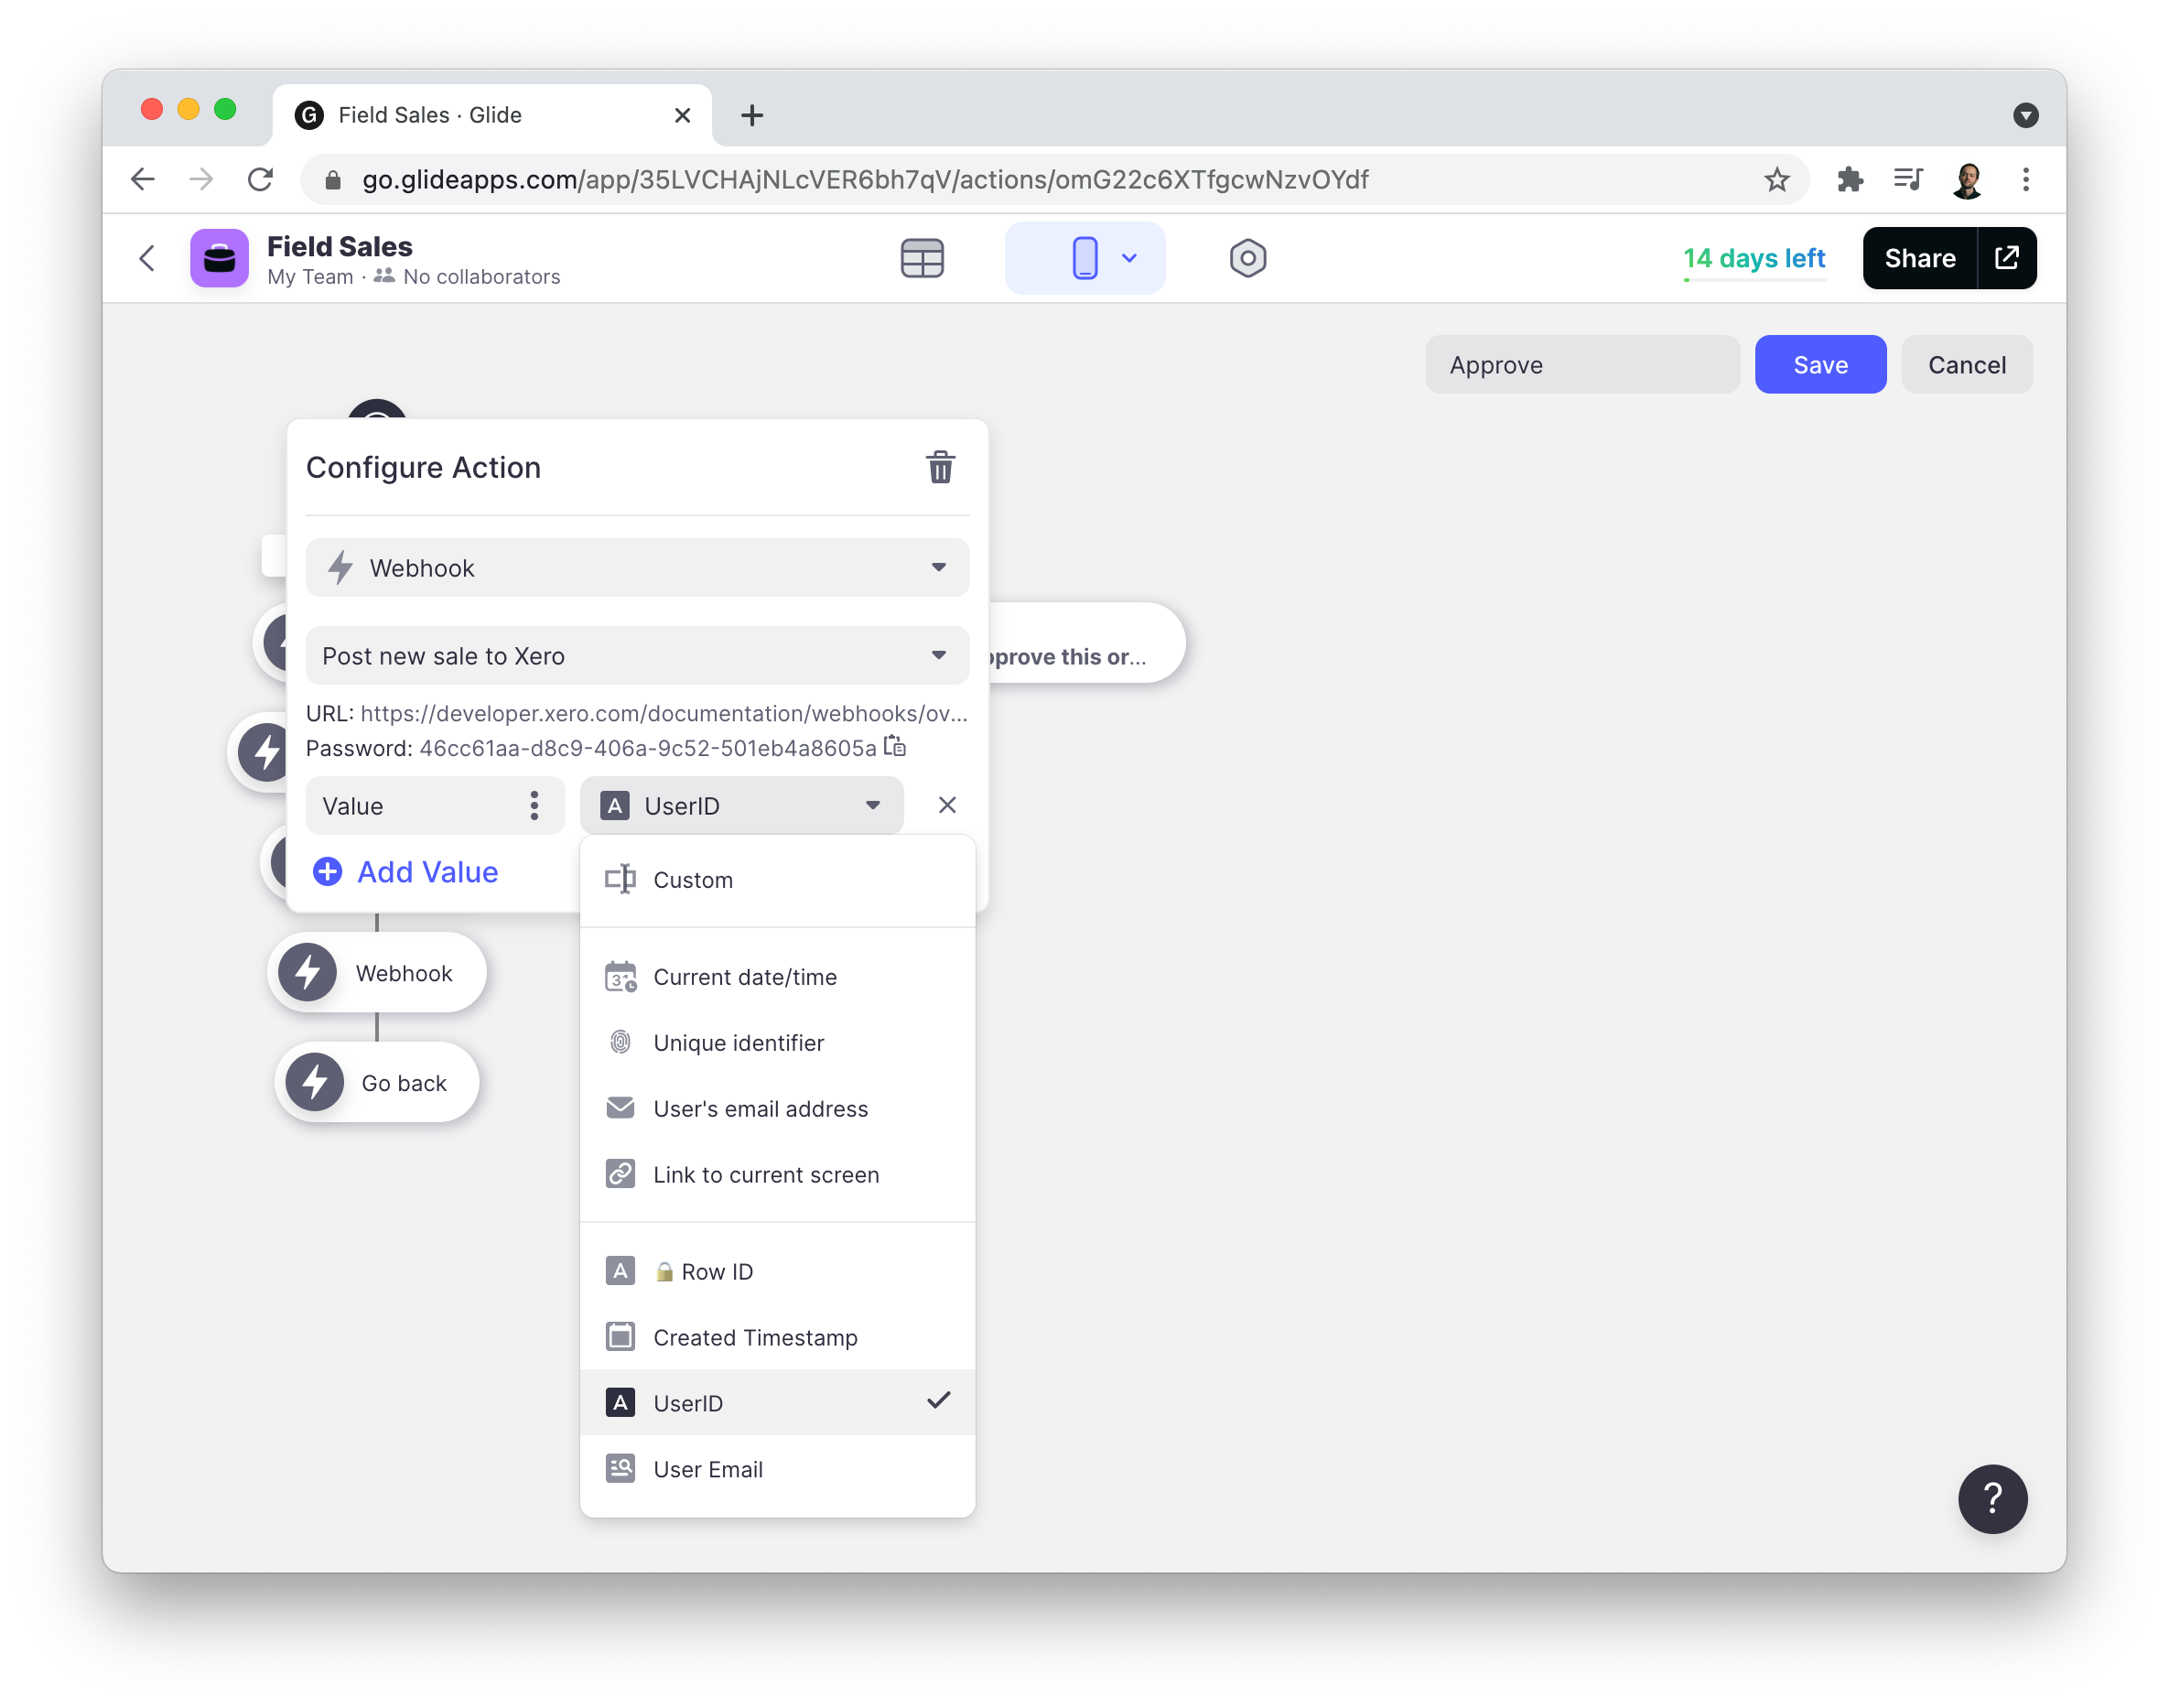
The values you have access to will depend on your context. For us here, we have access to
- Special values such as the Current Date/Time and User's Email
- Column values for the current item
- User profile values
- Custom values
You should also name the values so it's clear how to use it on the other end – where your webhook is sent.
Now that we've set up our webhook, every time a new order is processed – these values will be sent to the URL we configured and we can use that data in whatever way we like.
Again, for more technical info on implementing a webhook endpoint, check out Mark's post Here